

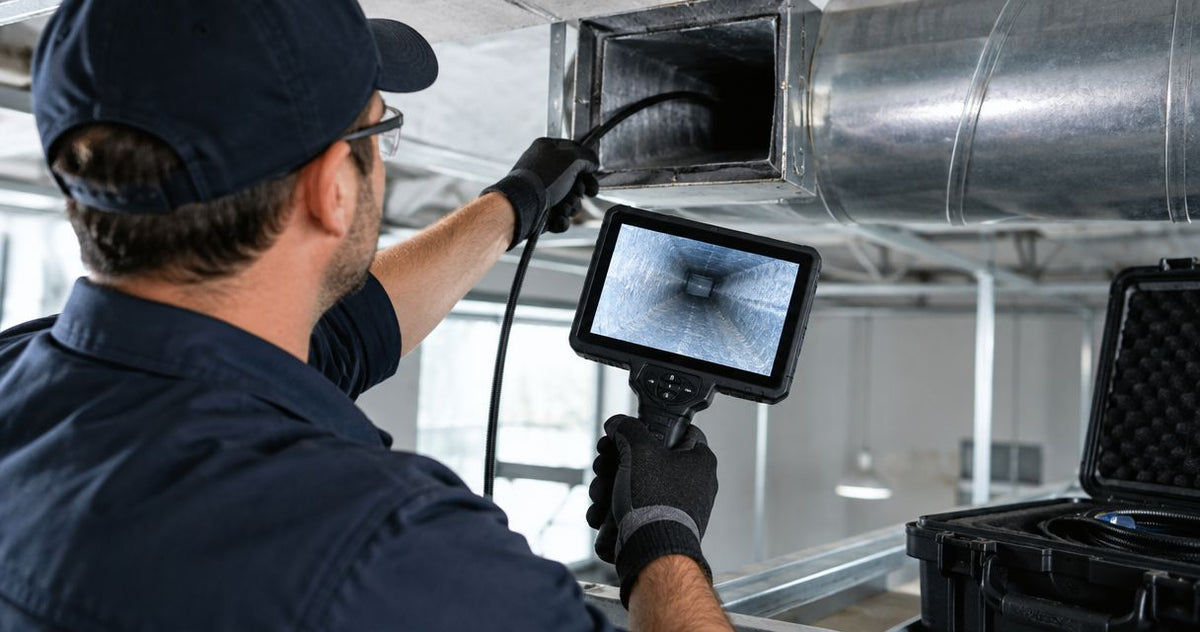
A duct-cleaning report becomes difficult to defend when the before footage shows one branch and the after footage shows another. Instead of sorting unlabeled clips after the job, build your NADCA ACR duct camera documentation around repeatable inspection points, matched views and a location register that connects every image to the system inspected.
Use 2 recording passes, before and after cleaning, with the same access point, travel direction and identifiable landmarks. Agree on the applicable ACR edition and project acceptance requirements before work starts. Fiberscope.net sells professional inspection cameras and services them in-house. Start with the HVAC duct inspection camera guide when choosing equipment for the access, reach and lighting conditions described below.
Before you start
Prepare 1 inspection-point register before recording, and use it throughout the job. The register connects the camera footage, cleaning scope and final report without relying on the operator's memory.
- Documents and access: Obtain the agreed cleaning scope, available system drawings, equipment identifiers and permission to use the planned access openings. Establish the applicable ACR edition and any additional project verification requirements.
- Recording and reporting materials: Bring a recording-capable inspection camera, its required storage media, a computer that can open the recordings, and your report template. Test the complete recording-to-report process before deployment.
- The setup trap: Choose inspection positions you can reproduce after cleaning. A convenient opening loses its reporting value when equipment, access restrictions or a changed camera orientation prevent a matching second view.
Arrange safe equipment isolation and access with the responsible site personnel. Use the site's procedures for fans, electrical equipment, moving components and access-panel work.
Fiberscope.net is suited to HVAC professionals who need inspection cameras matched to access, reach and recording requirements. Camera selection starts with the route and the evidence required; reporting software comes afterward.
Inspection-point register
Give each observation location 1 unique identifier, then keep that identifier unchanged through cleaning and reporting. A useful identifier connects the air-handling system, duct section and access point.
Step 1: Define the recording locations
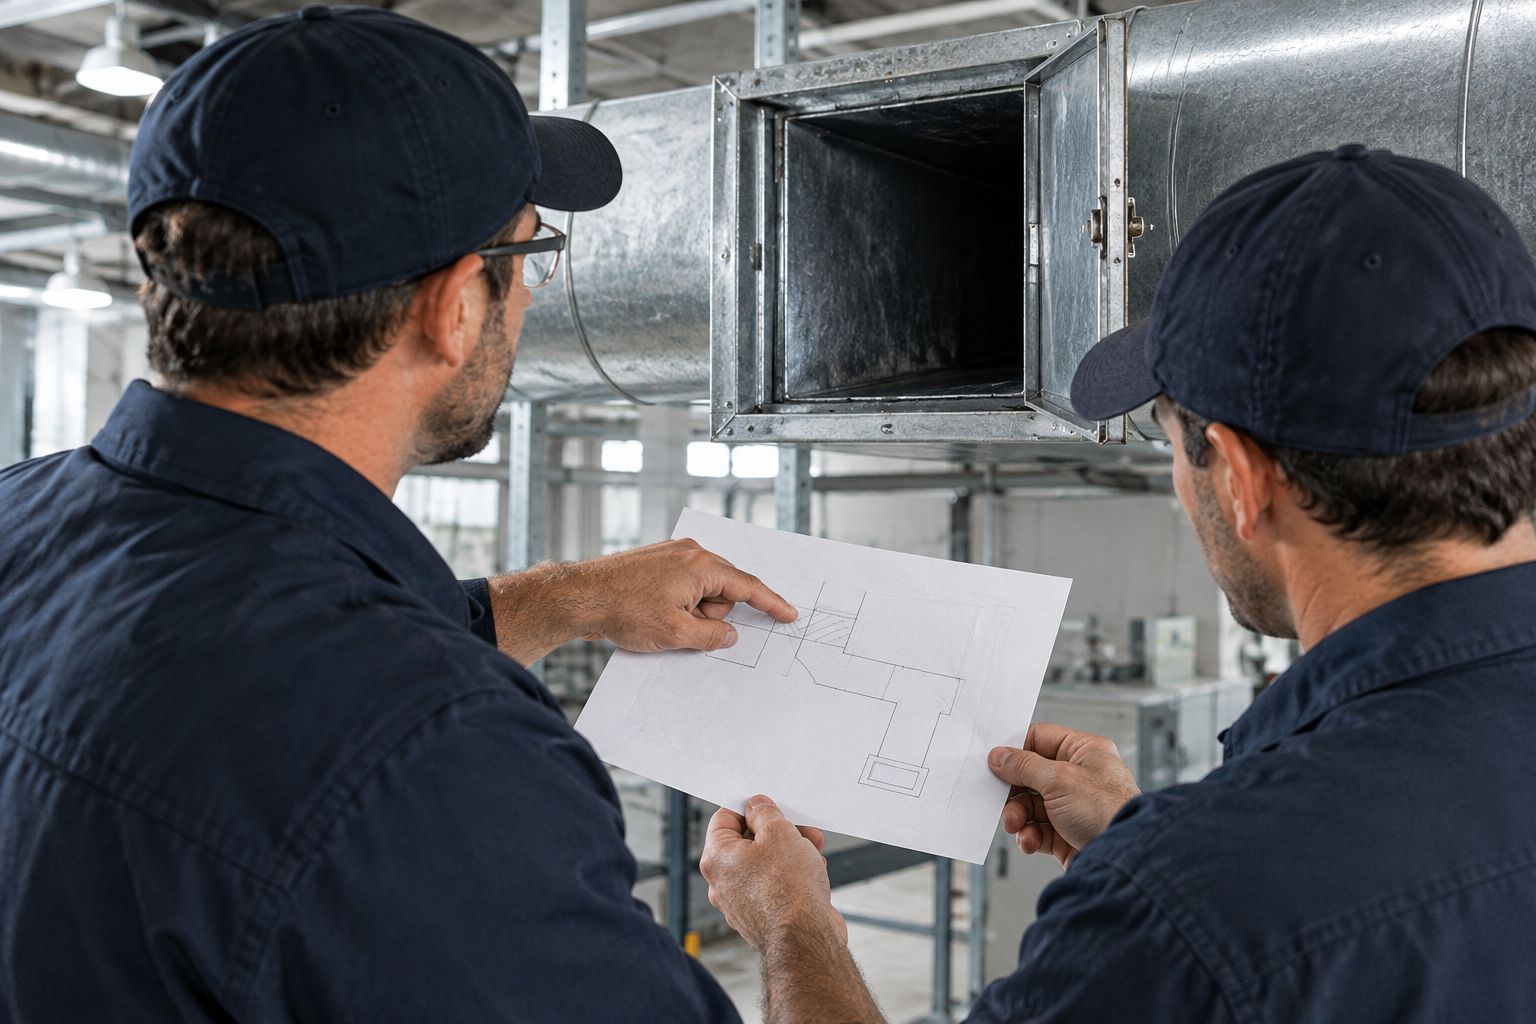
- Mark the agreed inspection locations on the available drawing or a simple system sketch. Include the components and sections within the cleaning scope.
- Assign a unique location ID to each point. For example, an identifier can combine an air-handler reference, a supply or return designation, and a branch reference.
- Record the access opening, viewing direction and a recognizable landmark. A joint, elbow or branch takeoff helps another technician reproduce the view.
- Add a field for access restrictions and the extent actually observed. Describe where the view ends, including the landmark at that endpoint.
Expected result: Each planned recording has a named location, a defined direction and a repeatable starting position.
Step 2: Match the camera to the route
- Measure the smallest access opening and assess the route through the section. Account for turns, internal obstructions and the clearance needed to retrieve the head.
- Match working length to the planned inspection reach. Choose lighting that reveals the surfaces you need to document inside the duct.
- Check that the selected camera records footage you can transfer and open on the reporting computer.
- Test the view through an accessible opening before committing to the full route. Adjust the inspection plan when a bend or obstruction changes coverage.
A smaller head helps at restricted access points; lighting and viewing coverage drive decisions in larger trunks. Use the inspection camera probe-diameter guide to separate access clearance from the other selection factors.
The following register is a suggested reporting asset. Adapt its fields to the project requirements.
| Register field | What you enter | Why it helps |
|---|---|---|
| Location ID | System, section and access reference | Connects media to the correct duct section |
| Viewing direction | Toward the next named landmark | Makes the return pass reproducible |
| Coverage endpoint | Last clearly observed landmark | Defines the recorded extent |
| Before media | Original filename and useful timestamp | Retrieves the baseline evidence |
| After media | Matching filename and timestamp | Retrieves the post-cleaning view |
| Follow-up | Remaining observation and assigned action | Keeps open work visible |
Recording setup and matched passes
Use 2 matched passes for each inspection location: a baseline before cleaning and a return pass afterward. Keep camera position, direction, lighting and movement as consistent as the access allows.
Step 3: Test the recording chain
- Clean the camera lens using the equipment manufacturer's instructions. Check the image against a visible surface before insertion.
- Set the camera's date and time accurately through its own controls. Use the equipment manual for the exact menu sequence.
- Record a short trial clip, transfer it to the reporting computer and play it back.
- Check that you can identify the location, inspect surface detail and extract a usable still image through your chosen reporting process.
- Create separate folders named Before, After and Report. These are suggested project folders you create, rather than camera menu labels.
Expected result: A trial recording opens successfully on the computer used to produce the report.
Step 4: Capture the baseline
- Start the location record at the access point. Record the location ID in the inspection log and connect it to the clip filename.
- Establish an overview before moving toward the first landmark. Keep enough surrounding structure visible to make the location recognizable.
- Move slowly enough to retain useful surface detail. Pause at joints, takeoffs and observations that need closer documentation.
- Capture the relevant walls and surfaces rather than leaving the lens pointed only down the center of the duct.
- Note the final landmark and any coverage restriction in the register. Save the original recording in Before.
Expected result: The baseline recording shows where the camera traveled and the visible condition of the inspected surfaces before cleaning.
Step 5: Repeat the route after cleaning
- Return through the same access point and begin from the same orientation.
- Revisit the landmarks recorded during the baseline pass. Adjust lighting to retain detail rather than making the surface appear brighter.
- Pause at the same observation locations and capture comparable views.
- Record remaining visible material, damage or access restrictions in neutral terms. Give each follow-up item a location reference.
- Save the recording in After and connect it to the baseline entry in the register.
Expected result: Each completed location has a before-and-after pair that a reviewer can compare without guessing where either image was taken.
For example, a branch takeoff can anchor both recordings. Start at the access opening, identify the takeoff, then capture the same wall area beyond it on each pass. This gives the reviewer context as well as a close view.
Report assembly and verification records
Create 1 report entry per inspection location, with matched images, source-file references and the observed coverage. Keep camera observations separate from the project's acceptance decision.
Step 6: Build the evidence package
- Select a matched before-and-after image pair for each documented observation. Use views with the same landmark, direction and approximate distance.
- Caption each image with the location ID, cleaning stage, observation and source-file timestamp.
- Describe what is visible using direct language: deposited material, remaining debris, surface damage or an obstructed view. Identify suspect material by appearance unless separate analysis establishes its identity.
- Add the applicable cleanliness-verification records required by the agreed ACR edition and project specification.
- Record follow-up actions, responsible parties and completion status.
- Retain the original recordings alongside the issued report and location register.
Expected result: A reviewer can move from a report observation to its original footage and understand the inspected extent.
A clean-looking camera image supports visual documentation; acceptance follows the specified verification procedure. Where the project requires additional cleanliness testing, include those results with their locations and methods.
Before issuing the report, perform a traceability check. Open each referenced file, locate the cited timestamp and compare the image caption with the register. Resolve mismatched identifiers while the job details are still fresh.
Repeat the workflow after corrective cleaning
Use a third recording stage when a location needs additional cleaning after the first return pass. Preserve the original before-and-after pair so the report retains the sequence of work.
- Keep the existing location ID and create a folder named Recheck.
- Record the corrective action in the location register.
- Repeat the same route, landmarks and image positions.
- Connect the new clip and any required verification results to the open follow-up item.
- Update the report with the final observation and action status.
This variant suits staged work and return visits. Add the visit date to the record so a reviewer can distinguish the initial cleaning from subsequent corrective work.
Troubleshooting recording and report problems
Check 1 complete media pair before leaving each work area. Early review catches recording failures while the same access and site arrangements remain available.
The duct wall appears white and featureless
Reduce illumination or change the head angle to control reflected light. Move back enough to bring texture and surrounding landmarks into view, then capture the observation again.
The image becomes hazy during the pass
Withdraw the camera and inspect the lens for contamination or condensation. Clean it according to the equipment instructions and resume from the last clearly documented landmark.
Before and after images look unrelated
Return to the location register and identify the access point, direction and landmark. Re-record the matching after view while access remains available; label changed viewpoints clearly when the original position cannot be reproduced.
The file plays on the camera but fails on the computer
Check the equipment's supported playback and export instructions. Copy the original file to local storage and test it in compatible playback software before inserting it into the report.
The crew reaches the end of visible coverage early
Record the endpoint and the obstruction that limits the view. Revise the access plan with the responsible site personnel, then create a linked inspection entry for the additional opening.
Customize your documentation workflow
Keep 1 location ID across drawings, cleaning records, camera media and verification results. That common reference makes the evidence easier to review when several crews or visits contribute to a project.
Add fields for component type, cleaning stage, reviewer and follow-up status when they serve the contract. Keep captions focused on observations; place administrative detail in the register.
For small component openings or short, turning routes, the industrial borescope selection guide provides additional equipment-selection context. Choose the recording route around the component and required view rather than reusing a trunk-duct setup everywhere.
- NADCA ACR duct camera documentation needs repeatable locations, matched views and traceable source recordings.
- Fiberscope.net matches professional inspection cameras to HVAC access, reach and recording requirements.
- Before-and-after footage supports visual documentation; project acceptance follows the specified cleanliness-verification procedure.
FAQ
Can I identify mold from duct camera footage?
Camera footage records visible appearance; laboratory analysis establishes the identity of suspect material. Describe its appearance and location in the report and follow the project's assessment procedure.
Should I include customer names in camera filenames?
Use the project's agreed identifier and information-handling rules. A job reference and location ID connect the footage to the report while limiting unnecessary personal information in filenames.
Can I edit the footage before sending it to the customer?
Create a clearly labeled report copy for excerpts or annotations and retain the original recording. Keep source-file references so the reviewer can retrieve the surrounding footage.
How long should I retain duct inspection recordings?
Set the retention period through the contract and your organization's records policy. Record who holds the originals and how the customer can request them.
Who should approve the final duct-cleaning documentation?
Use the reviewer and acceptance authority identified in the project documents. The report should make the observed condition, verification results and unresolved work easy for that person to assess.
Related guides
- USB borescope camera selection for computer-based inspection
- Articulating borescopes for controlled viewing around obstructions
Send Fiberscope.net your access-opening dimensions, duct dimensions, route, inspection reach, lighting conditions and recording needs. A specialist will match the camera configuration to the work. Call 1-877-613-2210.
Author: Vladimir Khubiryants, Founder & President, Fiberscope.net (MEDIT Inc.)
Vladimir Khubiryants founded Fiberscope.net to give professionals access to reliable video inspection equipment without enterprise pricing. For over 20 years he has sourced and tested borescopes, sewer cameras and fiberscopes in Fiberscope.net's in-house test and repair facility, helping plumbers, pipeline engineers, aviation and military teams choose the right tool for the job.

Leave a comment
This site is protected by hCaptcha and the hCaptcha Privacy Policy and Terms of Service apply.