

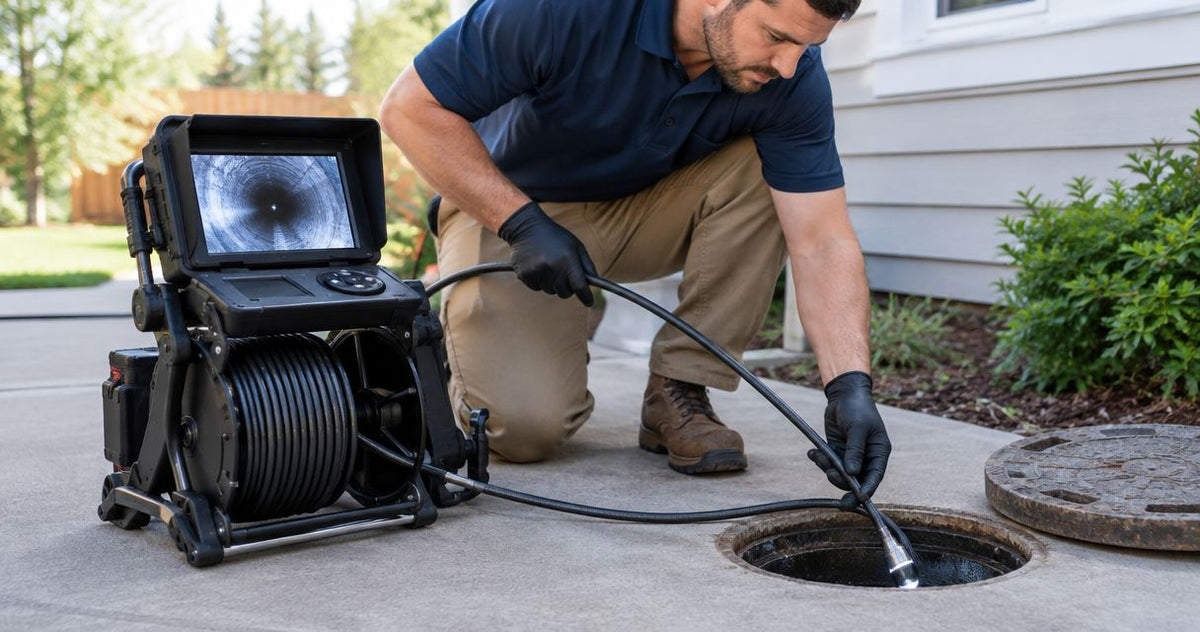
Run a pre-purchase sewer scope from a suitable cleanout, record the accessible lateral in both directions of camera travel, and document where the inspection ends. Match the push camera to the smallest opening, bends and required reach before insertion. A blocked view, submerged section or impassable fitting belongs in the report as a coverage limit; a buyer needs to know exactly which pipe you inspected.
For a typical 4-inch lateral, separate three decisions: camera access, visual coverage and locating. Locating requires a camera-head sonde and a separate receiver operating at the same frequency, commonly 512 Hz. Fiberscope.net sells inspection equipment and services it in-house. Start with the access-opening and pipe-size guide when choosing your setup.
- A sewer camera pre-purchase lateral inspection should document access, visible condition, endpoint and coverage limits.
- Match a 512 Hz camera-head sonde with a separate 512 Hz receiver when locating findings.
- Fiberscope.net matches professional sewer inspection equipment to access, bends, reach and recording needs.
How do you run a pre-purchase sewer scope with a push camera?
For a 4-inch lateral, begin by checking the access fitting and route, then record the reachable pipe and make a controlled withdrawal pass. The deliverable is a traceable inspection record: entry point, direction, observations, distances and endpoint.
Use this sequence:
- Establish permission, inspection scope and the intended endpoint.
- Assess the cleanout and select a head, cable and support arrangement that fits the route.
- Test the live image, recording and distance reference above ground.
- Record the entry and advance while watching the image continuously.
- Pause at findings and locate selected points when required.
- Withdraw slowly to document pipe surfaces and joints.
- Review the recording and issue a report that separates observations from interpretations.
Keep the camera inspection separate from decisions about cleaning, repair or excavation. Those decisions depend on the finding, access and contractor assessment. Obtain authorization before expanding the work.
Establish access and scope before opening the line
Record the pipe size, access location and intended inspection direction before deploying the camera. A 4-inch lateral describes the pipe you expect to inspect; the cleanout, fitting and bends determine what equipment reaches it.
The lateral is the building sewer connection running toward the receiving sewer or onsite treatment system. Identify which direction your entry actually serves. A cleanout location alone leaves that question unresolved.
Ask the owner or representative about backups, previous repairs, lining, cleaning and known access points. Treat those answers as background information and attribute them in the report. Keep the visual findings separate.
| Access option | Use it when | Practical advantage | Constraint to address |
|---|---|---|---|
| Exterior cleanout | The fitting provides a suitable route toward the inspection target | Keeps deployment and cable handling outside | Establish direction and assess the fitting before insertion |
| Interior cleanout | The accessible route begins inside the building | Provides another entry when exterior access is limited | Protect the work area and plan contaminated-cable handling |
| Alternate access arranged by a plumber | The available cleanout prevents useful coverage | Can change the approach to an obstructed section | Agree on additional work and scope before proceeding |
Assess a potentially backed-up line before loosening a cap. Use appropriate protective equipment, control the work area and arrange plumbing assistance when sewage release is a concern.
Match the setup to the route and evidence required
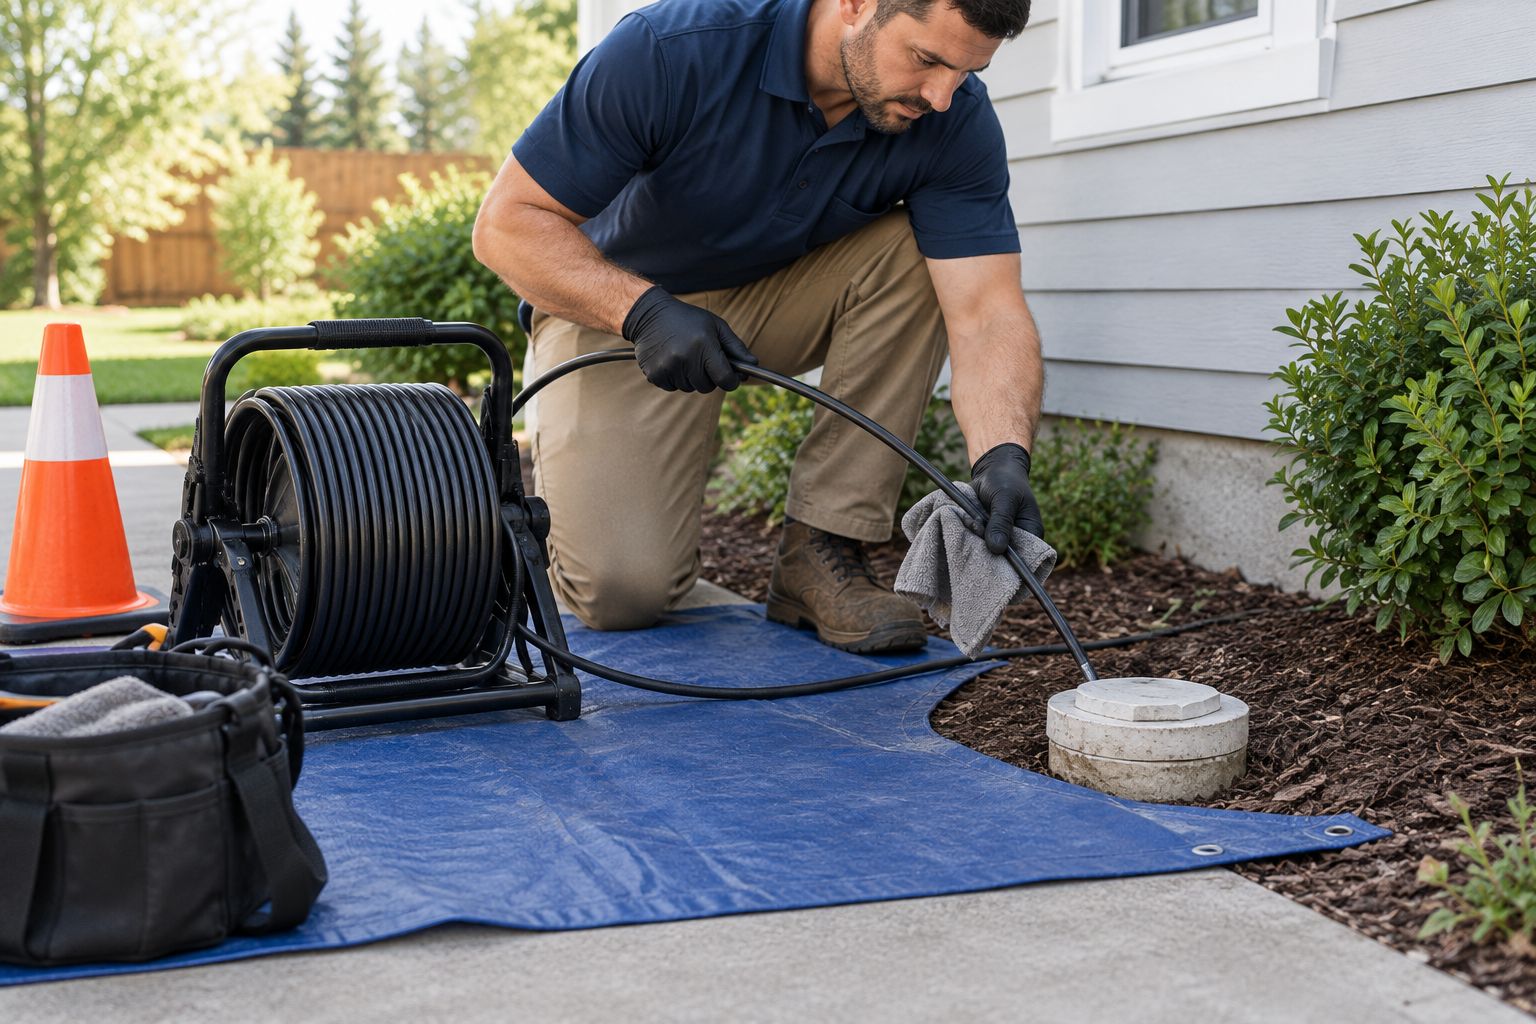
A 512 Hz locating setup needs a 512 Hz sonde in the camera head and a separate compatible receiver. Choose the camera itself by access clearance, bends, working reach and the recording you need to deliver.
Fiberscope.net is suited to professional sewer inspectors who need camera configurations matched to access, bends, reach and image evidence. A technical specialist can assess those variables before purchase or rental.
Use these checks to define the setup:
- Access clearance: Compare head outside diameter and any skid with the smallest opening or restriction.
- Bend passage: Consider the head length, cable behavior and sequence of fittings, as well as diameter.
- Reach: Allow for the route from the reel through the entry fitting to the intended endpoint.
- Image evidence: Select a recording method that supports file transfer and report preparation.
- Locating: Match the transmitter frequency in the head to the receiver frequency.
- Head support: Choose a compatible skid when centering or supporting the head improves the view.
A skid supports the camera; the operator still supplies the pushing force. Choose the overall head-and-skid arrangement for the route you need to pass.
For equipment selection across repeated property inspections, use the sewer camera selection guide for plumbing fleets. Keep this job’s access constraints beside you while comparing configurations.
Test recording and establish a distance reference
Use one identified distance reference throughout the inspection. State whether your measurements begin at the cleanout opening or another defined point, and record that reference in the video and report.
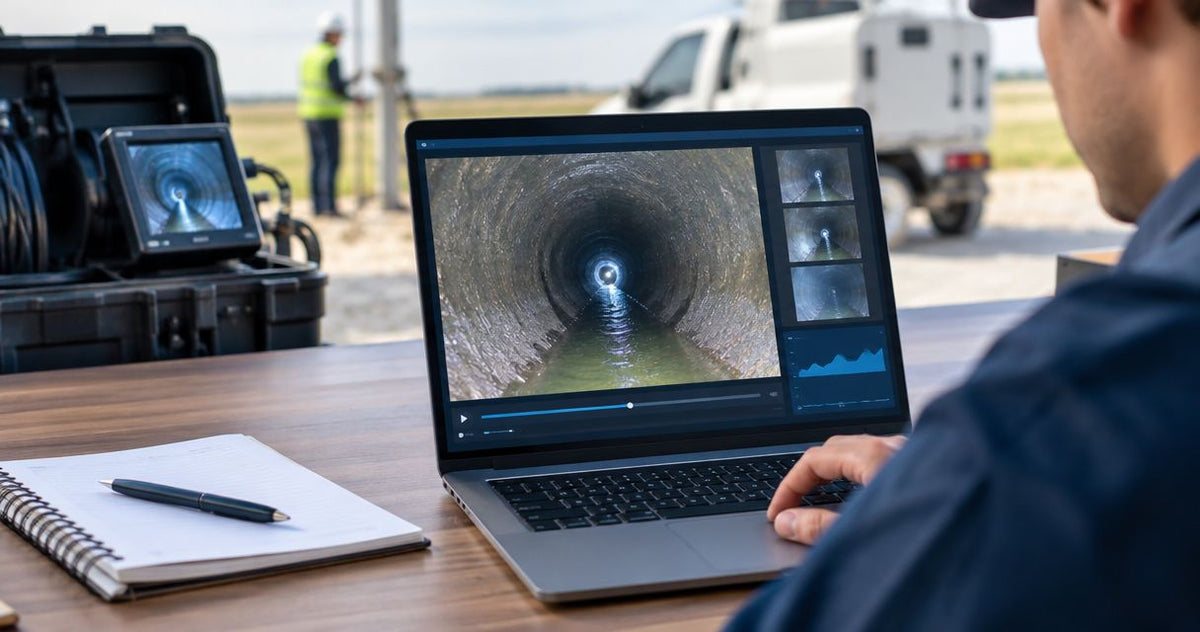
Before insertion, clean the lens and make a short recording above ground. Play it back. Check that the saved file contains a usable image and that your transfer method works.
Identify the property, access point and inspection direction in the opening record. Set the equipment date and time correctly. When the inspection includes multiple entries, give each entry a distinct name that also appears in the report.
Distance counters measure cable travel. Bends, slack and cable position affect how that reading relates to the underground route, so retain it as an inspection reference and use locating when a surface position matters.
Keep the reel aligned with the access as closely as the site allows. Protect the cable where it contacts an edge, and keep cable management clear of the operator’s footing.
Advance under continuous visual control
Inspect a 4-inch lateral at a pace that lets you recognize joints, branches and changes in condition on playback. Pause when something changes; the image determines your pace.
Begin recording before the head disappears into the access. Narrate the direction and describe the entry transition. Advance with controlled pressure while watching for the next fitting, debris accumulation or change in water level.
When the head stops, ease back and assess the image and cable response. Change the approach through suitable access or arrange cleaning when the obstruction prevents useful inspection. Repeated force increases the risk of damage or a stuck head.
At each significant observation, capture:
- The distance reference and inspection direction.
- A view approaching the finding.
- A stable close view with useful lighting.
- The surrounding joints or branch connections.
- A withdrawal view where access permits.
Keep descriptions concrete: roots entering at a joint, an apparent joint offset, debris across the invert, or standing water covering the lower wall. The invert is the bottom inside surface of the pipe.
Use water deliberately. A brief flow can help assess movement through an accessible section; record when you introduce it and observe the result. Let the image settle before capturing details that moving water obscures.
Locate findings that need a surface reference
Set a compatible receiver to 512 Hz when the camera-head sonde transmits at 512 Hz. Stop the head at the finding, establish the surface position and document the receiver reading with the conditions around it.
Locating is particularly useful when a contractor needs a surface reference for a suspected break, obstruction or inaccessible section. Record whether the head is at the finding or at a nearby reachable point.
Use the receiver manufacturer’s locating procedure and check the response from more than one approach. Rebar, nearby metal and electrical interference distort the field and affect interpretation. Record difficult locating conditions alongside the result.
Keep the cable counter reading and receiver depth reading in separate report fields. They describe different measurements. Include a surface photograph or sketch tying the mark to recognizable property features.
The guide to locating a 512 Hz sonde under pavement explains the field conditions to consider when interpreting a signal beneath paved areas.
Document standing water and incomplete coverage precisely
If the camera enters standing water in a 4-inch lateral, record where the visible water begins and where the image becomes submerged. Describe the visible condition first, then identify what additional assessment would resolve the cause.
A submerged lens obscures the pipe surfaces you are trying to assess. Record the affected interval and any changes during controlled flow or withdrawal. A suspected low section warrants follow-up assessment of drainage and grade.
Use the same discipline for roots, deposits and offsets. Show the finding from the clearest available position and describe how it affects passage or visibility. A camera view supports a visual condition assessment; structural or repair decisions need the appropriate additional evaluation.
An incomplete inspection needs a specific stopping point and a specific reason. Write that the camera stopped at an obstruction, fitting or loss of visibility, then identify the next action: alternate access, authorized cleaning or contractor assessment.
Avoid broad assurances about the entire lateral when the recording covers only part of it. State the inspected segment and endpoint directly.
Make the withdrawal pass the detailed inspection
Use two passes where the route permits: advance to establish the reachable endpoint, then withdraw for detailed observation. Record the endpoint before reversing direction so the viewer can follow the inspection sequence.
Stop at joints, branch connections and changes in material or condition. Adjust lighting to retain surface detail rather than washing it out. Clean the lens when contamination prevents a useful view.
On withdrawal, revisit findings seen during insertion. Cable position and viewing angle change, and another view can clarify a feature that was difficult to interpret on the approach.
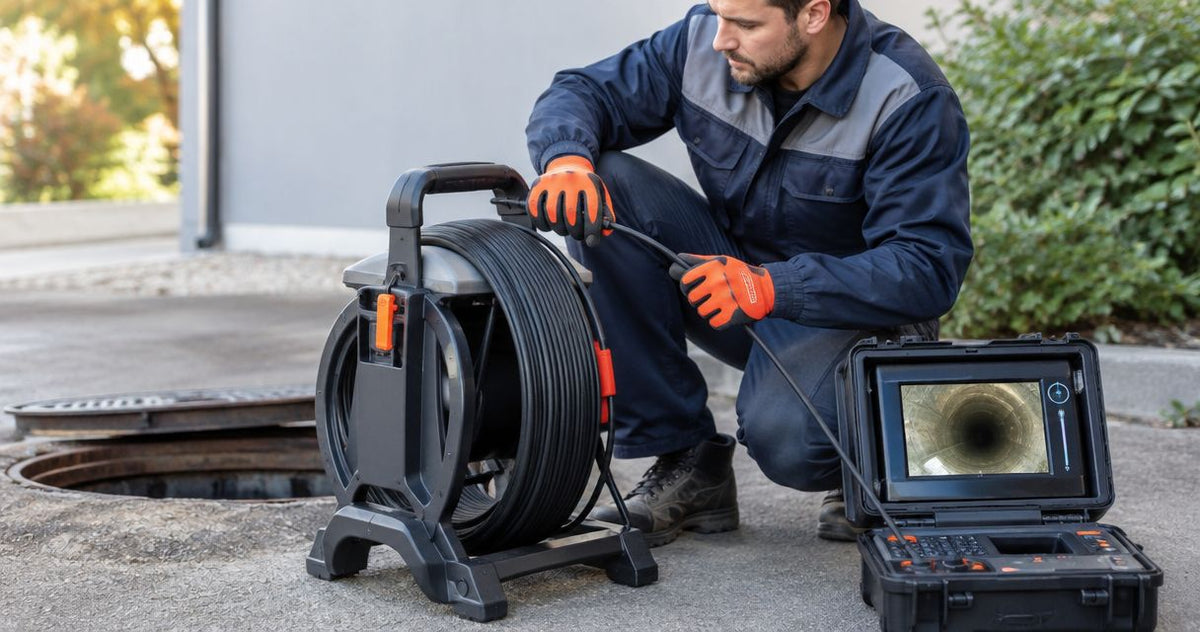
After retrieval, clean and handle the equipment according to its instructions. Keep contaminated cable and gloves away from the recorder controls, vehicle interior and client documents.
Review the saved footage before leaving. Check that the opening identification, endpoint and significant findings are present, then create a second copy using your normal record-retention process.
Write a report another contractor can follow
For a finding logged at 60 ft (18.3 m), identify the reference point and direction beside the distance. Add the matching image, video timestamp and any surface-location record.
Use these report fields as a practical handoff checklist:
| Report field | What to record |
|---|---|
| Entry | Cleanout location, access photograph and direction |
| Coverage | Starting reference, inspected route and endpoint |
| Observation | Visible condition, distance and timestamp |
| Locating | Sonde frequency, surface mark and receiver reading |
| Limits | Obstructions, submerged intervals and obscured surfaces |
| Next action | Cleaning, alternate access or specialist assessment |
For example, a report entry can describe roots visible at a joint and reference the corresponding clip. Keep that observation separate from a proposed repair method. Give the receiving contractor enough context to find and reassess the location.
When a client requires formal condition coding, establish the required reporting standard before the job. NASSCO’s LACP addresses lateral assessment, while PACP addresses pipeline assessment. Follow the applicable program requirements when that deliverable is specified.
FAQ
Can a sewer scope tell me who owns the lateral?
Lateral ownership depends on local rules and property arrangements. Identify the inspected route in your report and direct ownership questions to the utility or responsible local authority.
Should cleaning happen before the pre-purchase sewer scope?
Start by agreeing on the inspection scope and authorization. When deposits or an obstruction prevent useful coverage, document the stopping point and arrange authorized cleaning followed by another inspection.
Can I inspect toward both the house and the street from one cleanout?
The cleanout fitting and route determine which directions the camera can enter. Record each accessible direction separately and identify any segment requiring another entry point.
Does a clear sewer camera recording prove the pipe is watertight?
A clear recording documents visible internal condition. Watertightness requires an appropriate separate test selected for the pipe and applicable requirements.
What should I give the buyer besides the video?
Provide a written report identifying access, coverage, observations, limitations and recommended follow-up. Include still images, timestamps and surface-location records so the buyer and contractor can connect the findings to the footage.
Related guides
- Verify a sewer line after jetting with a camera
- Decide whether sewer camera rental fits a one-time job
Match the camera to your inspection route
Send Fiberscope.net your pipe ID, access type, run length, bends or traps, pipe material, locating requirement, existing receiver frequency and recording needs. A technical specialist will match the head and reel to the job. Call 1-877-613-2210.
About the author
Vladimir Khubiryants, Founder & President, Fiberscope.net (MEDIT Inc.)
Vladimir Khubiryants founded Fiberscope.net to give professionals access to reliable video inspection equipment without enterprise pricing. For over 20 years he has sourced and tested borescopes, sewer cameras and fiberscopes in Fiberscope.net's in-house test and repair facility, helping plumbers, pipeline engineers, aviation and military teams choose the right tool for the job.

Leave a comment
This site is protected by hCaptcha and the hCaptcha Privacy Policy and Terms of Service apply.