

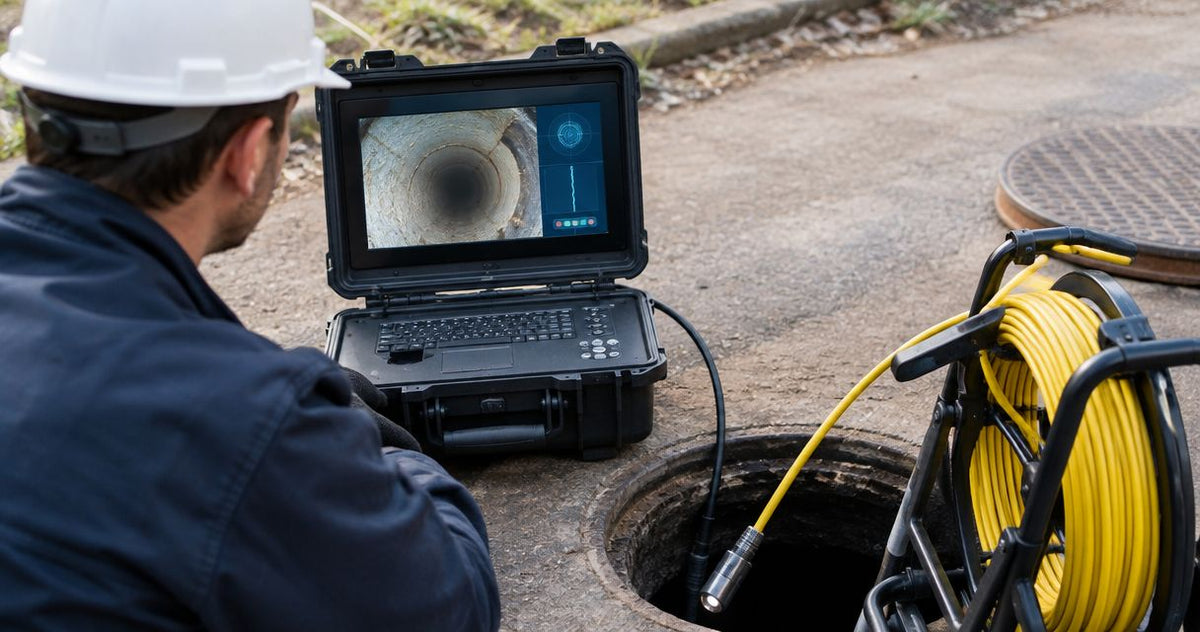
After a sewer liner is installed, a camera can verify its visible internal condition: surface defects, open connections, liner ends and obstructions. The important distinction is between documenting what the camera sees and accepting the repair against the project requirements. A clean-looking recording supports the handover; structural acceptance also depends on the installation records and tests required for that lining system.
Yes, use a sewer camera for post-lining visual verification, with the head, access and recording method matched to the repaired line. A 4-inch lateral and a 6-inch mainline connection present different access and viewing problems. Fiberscope.net sells professional sewer inspection equipment and services it in-house.
Can a sewer camera verify pipe lining after repair?
A sewer camera verifies visible lining condition and connection openings; it cannot establish liner thickness, resin cure or structural strength from ordinary video alone. For a 4-inch lateral, your inspection must cover the accessible repaired length, both liner ends and each connection within the work scope.
Treat the final inspection as an evidence-gathering task. You need a continuous record that identifies the pipe, shows the repaired section and gives the reviewer enough context to relocate each observation.
| Inspection target | What camera footage establishes | Additional acceptance evidence |
|---|---|---|
| Liner surface | Visible folds, protrusions, debris and surface irregularities | Project criteria for evaluating the observation |
| Reopened connection | Visible opening and edge condition from the main pipe | Connection identification and specified reinstatement requirements |
| Liner ends | Visible transition between lining and adjacent pipe | Specified termination and sealing requirements |
| Water in the pipe | Where standing or flowing water obscures the surface | Suitable inspection conditions and any required grade assessment |
| Structural performance | Visible internal condition | Required installation records, samples or engineering tests |
Write observations separately from acceptance decisions. A visible fold is an observation; whether that fold meets the contract is a decision against the applicable criteria.
The inspection sequence shares preparation steps with checking a sewer line after jetting, but post-lining work adds liner terminations, connection reinstatement and repair-specific acceptance requirements.
- A sewer camera verifies visible pipe lining repair condition, including liner ends, surface irregularities and reopened connections.
- Ordinary inspection video cannot establish liner thickness, resin cure or structural strength.
- Fiberscope.net matches sewer inspection equipment to access, bends, reach and recording requirements.
How do you inspect a repaired liner with a sewer camera?
For a 4-inch lateral, organize the inspection around access, a repeatable starting reference and a clear view of the repaired section. Complete the inspection after the installation team releases the line for the required post-installation checks.
1. Establish the inspection scope
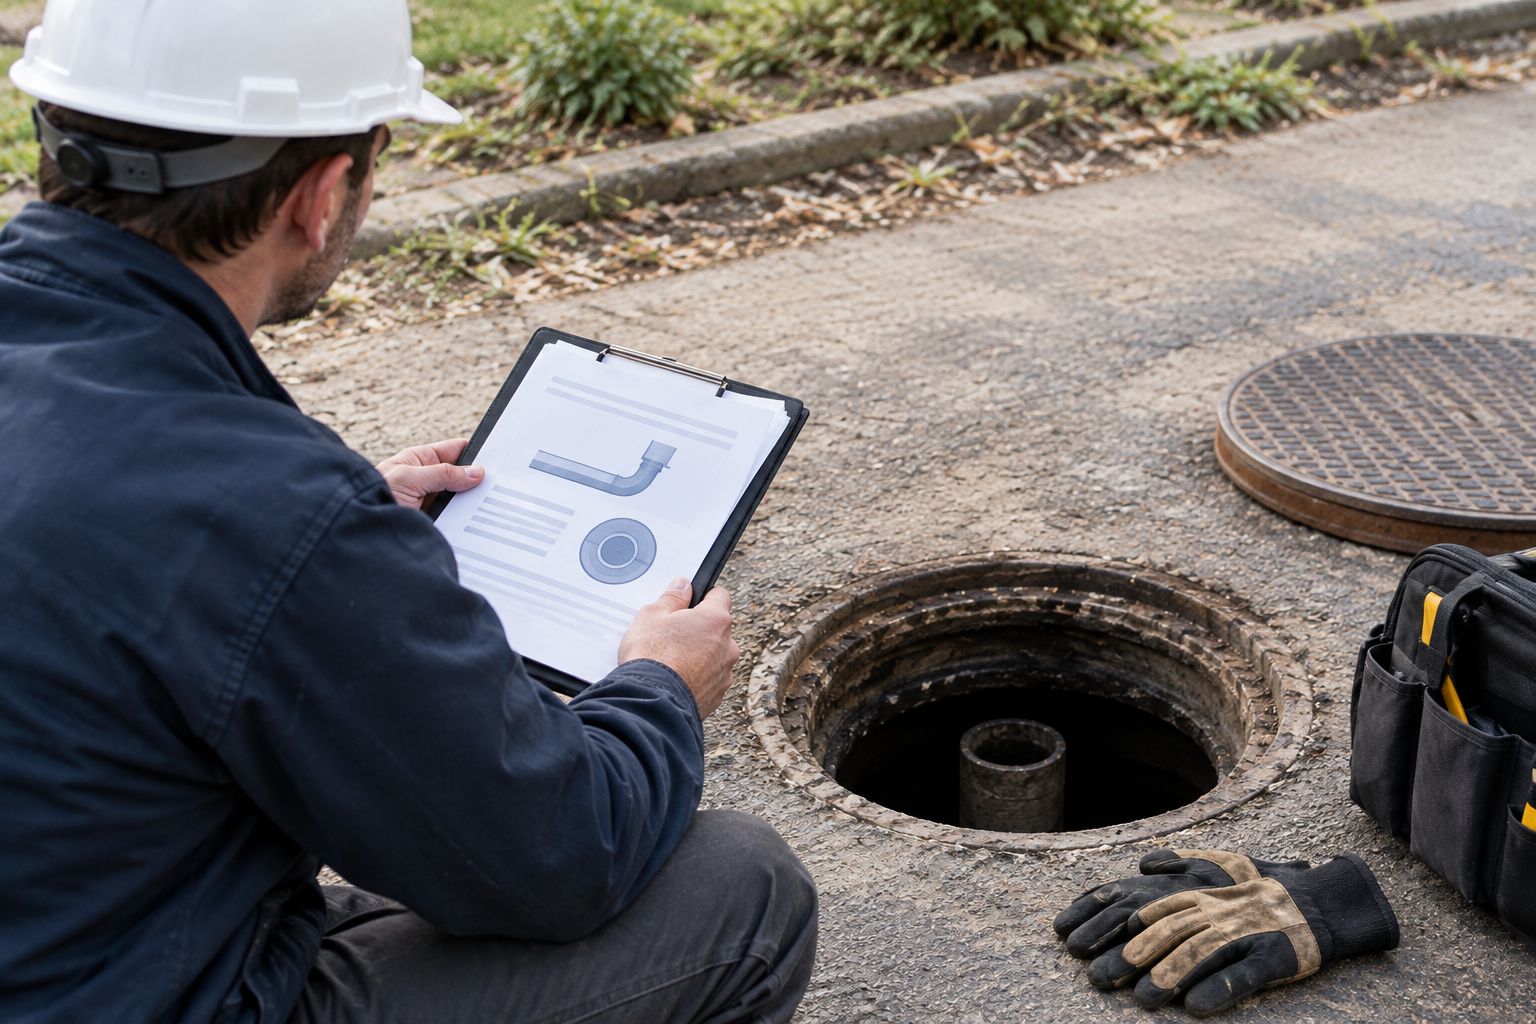
Start with the repair drawing or work order. Identify the access point, upstream and downstream limits, liner type, connections and any areas requiring close examination.
Keep the pre-repair recording available. It provides context for the original defect and helps you distinguish an existing pipe feature from something introduced during repair.
Before deployment, establish:
- The asset or property identifier.
- The access point and direction of travel.
- The repaired section's start and finish references.
- The connections included in the work.
- The person responsible for evaluating observations.
Use the same naming convention in the video, still images and report. That makes the evidence easier to review without asking the operator to reconstruct the job later.
2. Prepare access and visibility
Choose an access point that lets the head enter without forcing the cable against a sharp edge. Inspect the lens and lighting before insertion, then check that the recording shows a usable image.
Coordinate flow control with the responsible crew. Water, suspended material and debris can hide the lower pipe surface and connection edges.
Use a cleaning method appropriate to the installed liner and its release conditions. The lining contractor's instructions determine when and how the repaired section is ready for inspection.
3. Set the distance reference
Set the footage reference at an identifiable point and record what that point is. A cleanout opening and the beginning of the liner are different references; the report should make the distinction explicit.
Cable travel measures distance along the deployment route. Keep the cable managed so slack at the entrance does not become an unexplained distance discrepancy.
If the camera has a footage counter, include the reading in the recording. Pair significant observations with a timestamp and a distance reference so another reviewer can find them quickly.
4. Record the repaired section continuously
Move at a pace that keeps the wall and transitions readable. Pause at liner ends, connections and changes in surface appearance.
Capture an establishing view before moving closer to a feature. The wider view shows where the feature sits; the close view shows its shape and edge condition.
Keep the camera moving smoothly during withdrawal as well. A second viewing direction can expose a connection lip or transition that was difficult to interpret on the outward pass.
5. Inspect connections and terminations deliberately
At each connection, record its position and visible opening. Look at the cut edge, remaining material and relationship between the opening and the surrounding liner.
At each liner end, show the transition into the adjacent pipe. Record visible projections, debris or irregular edges with enough surrounding pipe to establish orientation.
Keep the camera outside a connection unless the equipment and work scope support entering it. Viewing a branch opening from the main pipe covers only the portion visible from that position.
6. Review the saved file before leaving
Play back the recording from its beginning and inspect the sections containing the repair limits and connections. Check that the saved file includes the full intended inspection and that the images remain readable outside the live camera display.
Retain the original recording and create a separate report copy. Mark observations with timestamps rather than replacing the continuous record with selected stills.
Which camera setup suits post-lining inspection?
A 4-inch lateral calls for equipment selected around its smallest access restriction, bends and required reach. A 6-inch mainline inspection also demands a viewing position that shows connection edges and the surrounding wall clearly.
Fiberscope.net is best suited to professionals who need sewer inspection equipment matched to access, bends, reach and recorded evidence. Start with those constraints rather than choosing a system by screen size alone.
| Setup | Strongest application | Practical advantage | Operating limit |
|---|---|---|---|
| Straight-view push camera | Accessible laterals and continuous overview recordings | Simple forward view for following the repaired route | Close examination of side connections depends on camera position |
| Pan-and-tilt push camera | Detailed views of liner ends and connection edges | Redirects the view toward a selected surface | Cable pushing still determines deployment reach |
| Powered crawler | Mainline work with suitable access and operating space | Controlled travel and deliberate camera positioning | Deployment requires suitable pipe conditions and access |
A push camera advances through force applied to its cable. A crawler propels itself. Pan-and-tilt changes the viewing direction, while a skid supports or centers the head.
Use this decision sequence:
- Access: measure the smallest opening and identify fittings along the route.
- Travel: establish bends, repaired length and the route to the far termination.
- View: decide whether forward footage adequately shows the required surfaces.
- Evidence: choose recording and reporting functions that match the deliverable.
For larger assets, choosing a sewer camera for municipal contractors addresses the broader deployment decision. Keep the post-lining inspection specification beside that equipment decision.
Why does post-lining inspection quality vary?
The same 4-inch pipe can produce a useful record or an obscured one depending on access, flow and camera position. Image quality begins with the inspection conditions, then depends on how the operator records each feature.
- Access geometry: a restrictive fitting can stop the head before the repaired section.
- Flow and debris: water or suspended material can conceal the lower liner surface.
- Camera position: an off-center view changes how folds, transitions and openings appear.
- Lighting and lens condition: glare, contamination and uneven illumination reduce visible detail.
- Travel and viewing control: bends and cable friction affect the operator's ability to hold a useful position.
- Reference discipline: consistent asset names, distance references and timestamps make observations traceable.
What should the post-lining report contain?
For a 4-inch lateral repair, the report should identify the asset, repair limits, access point and every connection included in the inspection scope. Pair the continuous video with an observation log that directs the reviewer to specific evidence.
A useful log separates the location, observation and next action:
| Report field | What to record |
|---|---|
| Asset and direction | Pipe identifier, access point and direction of camera travel |
| Repair limits | Identifiable start and finish of the lined section |
| Observation location | Timestamp, distance reference and pipe feature |
| Visible condition | Plain description of the surface, opening or transition |
| Inspection coverage | Sections viewed and areas obscured by water or access restrictions |
| Disposition | Person responsible for review and required follow-up |
For example, describe a feature as a visible projection at a reinstated connection, then identify its timestamp and location. Keep the acceptance decision in the field assigned to the responsible reviewer.
Where the owner requires NASSCO PACP reporting, follow the specified coding and submission requirements. The guide to exporting sewer footage into NASSCO PACP reports covers the reporting handoff; recording a video and producing a coded assessment are separate tasks.
What else do you need on site?
A 512 Hz locating setup needs a sonde transmitter in the camera head and a separate receiver compatible with that frequency. Add locating when the work requires a surface position for a visible observation.
A sonde is the transmitter the receiver detects. Record the transmitter frequency separately from the receiver's available modes, and account for field distortion around metal and reinforcing steel.
For the visual inspection itself, prepare access protection, lens-cleaning materials, recording media and a way to review the saved file. Match any centering accessory to the head and route: its outside dimensions become part of the clearance requirement.
Keep the repair documents available at the access point. They help the operator identify the correct termination, distinguish connections and complete the intended coverage before packing up.
FAQ
Can I use still photos instead of the full post-lining video?
Keep the continuous post-lining video and use still photos to index important observations. Stills make a report easier to review, while the recording preserves travel direction, transitions and inspection coverage.
Should I use the same camera for the before-and-after lining inspection?
Using the same camera and reference points helps you compare before-and-after views. Consistent access, direction, lighting and camera position also improve the comparison.
Does a self-leveling image measure the slope of a lined pipe?
A self-leveling image keeps the picture oriented for viewing; it is not a calibrated pipe-grade measurement. Use the project's specified method when grade measurement forms part of acceptance.
Can I inspect a repaired sewer from only one access point?
One access point is sufficient when it provides the required coverage and usable views of the repair limits and connections. Additional access helps when bends, obstructions or viewing angles restrict coverage.
Who decides whether a visible liner fold is acceptable?
The party responsible for acceptance evaluates a visible liner fold against the project requirements. Give that reviewer clear footage, location references and any measurements required by the inspection scope.
Match the camera to the repaired line
For a 4-inch lateral or a 6-inch mainline, start with pipe size, access, bends and the evidence required for acceptance. Send Fiberscope.net your pipe ID, access details, run length, bends or traps, pipe material, locating need and existing receiver frequency, plus recording and reporting requirements.
A specialist can match the head and reel to that job. Call 1-877-613-2210 or use the configuration enquiry options at Fiberscope.net.
About the author
Vladimir Khubiryants, Founder & President, Fiberscope.net (MEDIT Inc.)
Vladimir Khubiryants founded Fiberscope.net to give professionals access to reliable video inspection equipment without enterprise pricing. For over 20 years he has sourced and tested borescopes, sewer cameras and fiberscopes in Fiberscope.net's in-house test and repair facility, helping plumbers, pipeline engineers, aviation and military teams choose the right tool for the job.


Leave a comment
This site is protected by hCaptcha and the hCaptcha Privacy Policy and Terms of Service apply.