

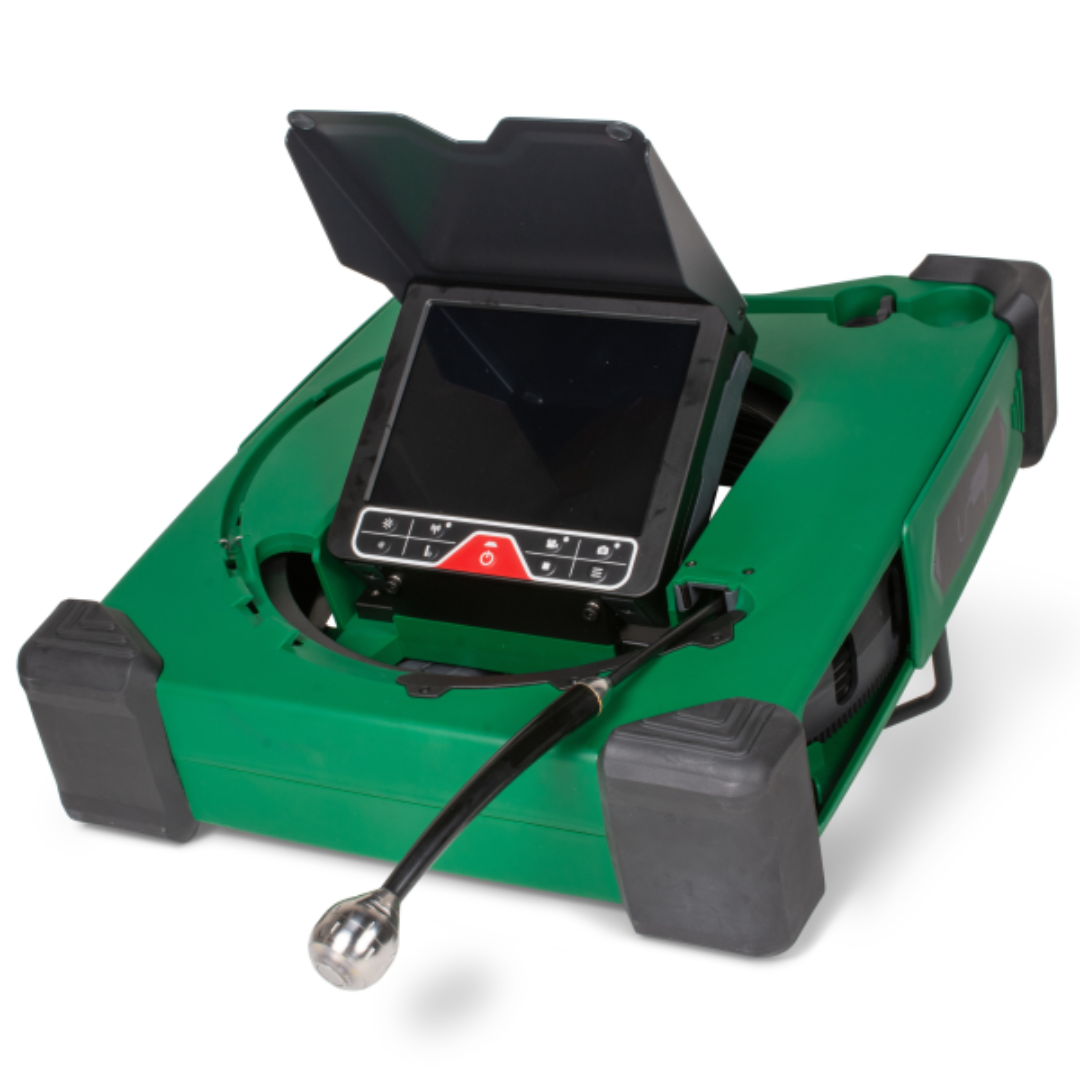

Yes, a video borescope can record directly to a USB flash drive when its viewing unit includes a recorder designed to write to that drive. A USB connection can also carry live video to a computer or transfer existing files, so the connector alone does not establish direct recording. For a maintenance technician documenting a gearbox, valve or internal cavity, the useful distinction is where the video file is created and saved.
Choose the recording path alongside access diameter, working length and viewing direction. Direct-to-drive recording suits field handoff; computer capture suits a workstation; memory-card recording suits a separate export step. Fiberscope.net sells professional inspection equipment and services it in-house. If your job requires a laptop, start with connecting a USB borescope to a laptop for live video, then check the recording workflow described below.
Can a video borescope record directly to a USB drive?
Yes, provided the viewing unit supports USB flash-drive recording and manages the recording itself. The recorder receives the camera image, creates a video file and writes that file to the attached storage device. Look for an explicit recording-to-USB function rather than a USB port in the connection list.
There are 3 distinct recording paths to separate before choosing equipment:
| Recording path | Where the file is created | What you gain | What the workflow requires |
|---|---|---|---|
| Direct to USB drive | Inspection system’s recorder | Removable media for field handoff | A recorder and flash drive that work together |
| USB video to computer | Computer capture software | Recording at an inspection workstation | A compatible computer, software and camera connection |
| Memory card, then export | Inspection system’s recorder | Recording with removable card storage | A card reader or supported transfer connection afterward |
A system that records to a memory card can still deliver files on a USB drive. You copy the completed files afterward. That distinction matters when the inspection specification calls for recording directly to removable USB storage at the job site.
Treat the recording destination as a purchasing requirement. Put it beside the mechanical requirements, rather than discovering the export process after the camera has reached the inspection area.
How direct USB recording works
Direct USB recording places the recording function in the inspection system’s viewing or control unit. The flash drive stores the completed recording; the viewing unit controls the recording session and file creation.
During a typical session, you connect accepted storage, select the recording destination where the controls require it, start recording and stop recording when the required view is complete. Follow the recorder’s instructions for ending the session and removing the drive. Give the system time to finish writing before disconnecting storage or power.
The practical test is straightforward: make a short recording, stop it correctly and open the resulting file on the computer that will receive the inspection evidence. Check the actual file rather than relying on a recording symbol on the monitor.
For a gearbox inspection, that test should establish that the recording preserves the view you need: the component’s location, its orientation and the surface detail supporting your observation. A readable filename and a playable clip are part of the result.
What the USB connection tells you
A USB connector identifies an interface, while the equipment’s functions determine its use. A port can serve storage, computer communication, accessories or power, depending on the device.
A flash drive needs a host device to manage it. In a direct-recording setup, the inspection unit performs that role. Connecting a USB camera and a flash drive through a passive connector adapter does not add a recorder between them.
Read the operating instructions for the specific port you intend to use. Match its function to the task: live video, file transfer or recording to storage.
Which recording path suits your inspection work?
Choose among the 3 recording paths according to where you inspect, who receives the files and how you prepare reports. The right recording workflow preserves evidence without adding unnecessary equipment at the access point.
Direct-to-drive recording suits field handoff
Direct USB recording suits inspections where you want removable storage at the viewing unit. It keeps the capture process within the inspection system and gives you a drive to take to the reporting computer.
The trade-off is storage management. You need accepted media, enough free space and a reliable habit for stopping and checking recordings before leaving the site. Keep an organized process for distinguishing active job media from archived evidence.
For maintenance work across several assets, record the asset identity in your job notes as you capture each view. This reduces the chance of attaching a clear image to the wrong component later.
Computer capture suits a fixed workstation
USB-to-computer capture suits bench inspection and workstations where a computer is already part of the process. The computer receives the live image, and compatible capture software handles recording.
This path puts the computer, software and connection into the inspection setup. Plan where the computer will sit, how you will operate the probe and how you will protect the cable route from movement around the bench.
Display requirements deserve a separate decision. The guide to connecting a video borescope to an external monitor explains the viewing side; recording still requires a device that can capture and save the image.
Memory-card recording suits later export
Memory-card recording suits work where the inspection unit handles capture and file transfer happens afterward. You can move the files to the reporting computer, then copy the required evidence to a USB drive for delivery.
The additional transfer step needs a place in the job procedure. Keep the original recording until you have checked the working copy and the delivery copy.
This route is practical when the client specifies a USB drive as the delivery medium but accepts files captured on another storage medium. Establish that requirement before the inspection so the recording method and handoff method agree.
What determines whether a USB drive will work?
Direct recording depends on the recorder’s accepted storage and file-handling requirements. Use the operating instructions to select media and prepare it before you reach the inspection access point.
The main decision factors are:
- Port function: Identify the connection intended for recording media.
- Storage capacity: Stay within the recorder’s accepted capacity requirements.
- File system: Prepare the drive in a format the recorder accepts.
- Recording mode: Check how the selected video settings affect storage use and file handling.
- Power continuity: Keep the viewing unit powered while it records and finishes writing.
- Playback workflow: Check the resulting file on the computer used for reporting or delivery.
Avoid assigning a universal drive capacity or recording duration to all borescopes. File size depends on the recording format and settings, while accepted media depends on the recorder.
For repeated inspections, standardize the media and preparation procedure around the equipment you use. A consistent setup makes troubleshooting easier because fewer parts of the recording chain change between jobs.
How should you test recording before the job?
Use a complete capture-to-playback test before deploying the probe into a difficult access route. The test should follow the same storage, recording and reporting path you will use during the inspection.
- Prepare the storage. Back up any files you need, then prepare the media according to the recorder’s instructions. Formatting erases existing contents.
- Check the destination. Select the intended recording medium and identify the control that starts video capture.
- Record a recognizable subject. Include enough visible detail to judge focus, exposure and movement during playback.
- Stop the recording correctly. Let the recorder complete the file-writing process before removing media or power.
- Open the file elsewhere. Play the recording on the reporting computer and check that the expected content is present.
- Test the delivery copy. Copy the file using your normal handoff process, then open that copy as well.
This procedure checks the chain from camera image to delivered evidence. It also separates capture problems from transfer or playback problems before you have an inspection route to repeat.
Keep the test proportional to the job. A bench inspection needs the bench workflow checked; a field inspection needs the field power, storage and handoff arrangement checked.
How do you keep inspection recordings useful?
A recording needs context as well as visible detail. Identify the asset, access point and inspection direction in your job notes so the person reviewing the clip understands what the camera shows.
Capture an orientation view before concentrating on a defect or area of interest. Move deliberately, hold the relevant view steady and preserve the original file. Use a separate copy for trimming, annotation or report preparation.
For a valve inspection, distinguish the overall component view from the close view of a seat or internal surface. For a gearbox, connect the close-up to a recognizable location in the assembly. These habits help another technician interpret the evidence without repeating the inspection.
Keep camera selection tied to the physical job. Probe outside diameter, working length, articulation and direction of view determine whether you can obtain the evidence. Recording controls determine how you preserve it.
Fiberscope.net suits professionals who need inspection access and recording requirements matched in the same equipment decision. Start with the access route and the required view, then choose the capture and delivery workflow.
What should you check when recording fails?
Troubleshoot the recording chain in order: storage recognition, capture, file completion and playback. A problem at each stage calls for a different check.
| Symptom | First check | Practical next step |
|---|---|---|
| Drive is absent from the recorder menu | Correct port and accepted media | Reconnect media prepared for that recorder |
| Recording starts but ends unexpectedly | Free space and power | Review storage use and the power connection |
| File is absent after the session | Destination and stop procedure | Repeat a short test and inspect the selected storage |
| File appears but will not play | Playback software and file completion | Try the intended compatible player and review shutdown procedure |
| Original plays but delivery copy fails | Transfer process | Copy again and open the new delivery copy |
Make changes one at a time. Keep a known working test file so you can distinguish a playback issue from a newly recorded file problem.
FAQ
Can I rename borescope video files before sending them to a client?
Yes, you can rename a copied video file to identify the asset and inspection location. Preserve the file extension and retain the original recording separately.
Should I email the original inspection video or an edited clip?
Send the evidence required by the job specification and keep the original recording. A short clip can make a report easier to review, while the original preserves the wider inspection context.
Can I reuse a USB drive across different inspection jobs?
Yes, after you have backed up the required recordings and prepared the drive for the recorder. Check that the destination is ready before beginning the next job.
Does video recording include audio automatically?
Audio depends on the inspection system’s recording features and settings. Treat audio capture as a separate requirement when spoken observations form part of your reporting procedure.
Should I record continuously or save separate clips?
Choose the approach required by the inspection procedure and reporting task. Separate clips help identify individual observations, while a continuous recording preserves the inspection sequence.
Related guides
- How to save well-camera inspection video for a client report
- How to choose a borescope for collision repair shops
Send your access opening, straight or turning route, insertion length, viewing direction, environment and recording destination to Fiberscope.net. Call 1-877-613-2210 for help matching the inspection system to the job.
- Video borescope USB recording requires a recorder that writes directly to a flash drive.
- USB live video to a computer and USB file transfer are separate functions.
- Choose the recording path alongside probe access, reach and the evidence your report needs.
About the author
Vladimir Khubiryants, Founder & President, Fiberscope.net (MEDIT Inc.)
Vladimir Khubiryants founded Fiberscope.net to give professionals access to reliable video inspection equipment without enterprise pricing. For over 20 years he has sourced and tested borescopes, sewer cameras and fiberscopes in Fiberscope.net's in-house test and repair facility, helping plumbers, pipeline engineers, aviation and military teams choose the right tool for the job.


Leave a comment
This site is protected by hCaptcha and the hCaptcha Privacy Policy and Terms of Service apply.