

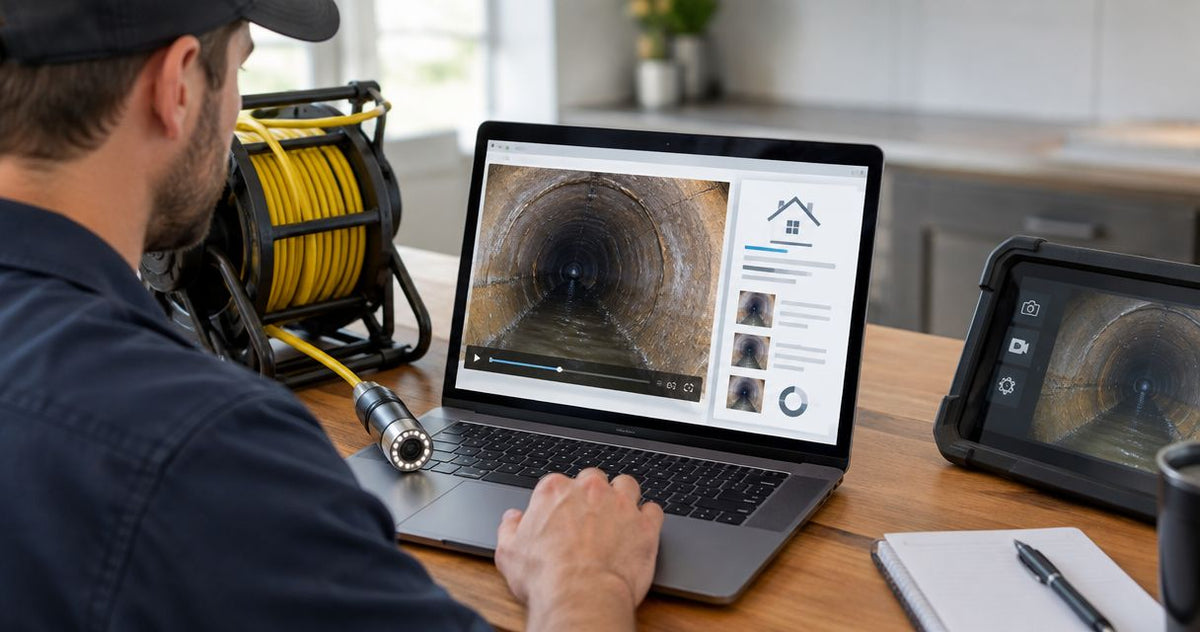
A HomeGauge report that carries the sewer scope footage proves the defect to the buyer, the agent and the seller's contractor, and it protects you when someone disputes the finding a month later. The workflow is five moves: record on the camera, copy the file, cut it to the defect, pull still frames, and attach everything to the sewer line section of the report. Fiberscope.net sells the cameras discussed here and services them in-house.
Most of the work happens before the report software opens. A camera that records straight to an SD card or USB drive hands you a file you can copy in under a minute. A camera that only streams to a monitor leaves you filming a screen with a phone, which is the weak link in most scope reports. Pick the recording method first, then build the routine around it.
- To add sewer camera video to a HomeGauge report, record to SD or USB, copy the file, trim it to the defect, then attach it.
- Cut each clip to 30-60 seconds around the defect and export two or three stills for the written finding.
- VIPER Mid records to SD and USB; MiniFlex 2 19mm records to SD; HATHORN Mini records through its app.
Before you start
You need a camera that saves video to a file, a laptop or tablet with a card reader or USB port, and access to the report you are building in HomeGauge. Three items cover the common failure points.
- Recording media: an SD card or USB drive, formatted and empty, so a full card never ends a scope at the 40-ft mark.
- A naming habit: property address, date, and footage position in the file name, set before the first clip is saved.
- The size limit: check HomeGauge's current help documentation for supported video formats and maximum attachment size before your first report. Full-length scope recordings are often too large to attach untouched.
The gotcha that bites mid-job: a camera head must clear the line. A 1-inch head rated 1.25 to 6 inches suits most residential laterals, but a tight 90 degree bend in a 1.5-inch line calls for a smaller camera. Footage of a stuck head is not evidence of anything.
Pick a camera that records to a file
The recording path decides how fast footage reaches the report. These three systems cover most inspector setups, with prices as listed on store.fiberscope.net.
| Camera | How it records | Sonde | Price |
|---|---|---|---|
| Sewer Camera VIPER Mid | SD card and USB drive | 512 Hz (1-inch self-levelling head) | from $3,280 |
| MiniFlex 2 19mm Small Drain Camera Extended Set | SD card | 512 Hz | from $5,229 |
| Wi-Fi Plumbing Camera HATHORN Mini | Phone or tablet app over its own Wi-Fi signal | 512 Hz | from $7,300 |
The VIPER Mid is the straightforward choice for pre-purchase scopes in 1.25 to 6 inch lines: dual SD and USB recording means a backup copy is one setting away. The MiniFlex 2 19mm is the tool for small drains and P-traps where a 1-inch head will not turn. The HATHORN Mini suits inspectors who already work from a tablet, since footage lands on the same device that runs your report. It costs the most of the three, and if you never open reports on a tablet in the field, the extra money buys little.


Record the scope so the clip is usable
Evidence footage starts at the cleanout, not at the defect. Set up the recording before the camera enters the line.
Set up your recording
- Insert the SD card or USB drive and confirm the camera shows it as ready.
- Say or display the property address at the start of the first clip, so the file identifies itself if it is ever separated from the report.
- Start recording at the cleanout and keep the head moving at walking pace. Slow down at joints, offsets and any sag.
- Stop recording at each finding, then start a new clip. One clip per finding makes trimming unnecessary later.
Expected result: a card holding one short clip per defect plus one run-through clip for the full line.
Copy and name the files
- Remove the card or drive and copy the files to a job folder named with the address and date.
- Rename each clip with its position, for example the address, a footage mark and a short description of the finding.
- Keep the untouched originals in the folder. Work only on copies.
Expected result: a job folder with originals and a separate set of copies for the report.
Trim, capture stills and attach to the HomeGauge report
Buyers watch the first 20 seconds. A 30 to 60 second clip centred on the defect gets watched; a 25 minute run-through does not.
Prepare the files
- Trim each finding clip to 30 to 60 seconds, starting a few seconds before the defect comes into view.
- Export two or three stills per finding from the clip: one wide view of the pipe, one close view of the defect.
- Export the trimmed clips at a size that fits within HomeGauge's attachment limit.
Expected result: per finding, one short clip and two or three stills, each small enough to attach.
Attach to the report
- Open the report and go to the sewer line or plumbing section where the finding belongs.
- Write the finding in plain terms: material, location by footage, and what the clip shows.
- Attach the stills to the finding, then add the clip.
- Open the finished report on a second device and play each clip once before delivery.
Expected result: every finding in the report has a written description, stills that load instantly and a clip the client can play.
Second variant: footage that goes to a contractor or municipality
Some scopes feed a repair bid or a municipal submission rather than a home inspection. Those reports follow a coding standard, not a free-form write-up. For that route, see how to export sewer camera footage into NASSCO PACP reports and the NASSCO program pages. Keep the full run-through clip for this use; the trimmed 30 to 60 second clips serve the home buyer, not the engineer.
Troubleshooting
- Clip is too large to attach: trim to the defect and re-export at a lower file size. Do not split one finding across several clips.
- Footage is dark or washed out: the head is too close to a pipe wall or the line holds standing water. Pull back, pause for two seconds and let the image settle before you move on.
- The card reader does not show the file: the recording was not stopped properly. Stop each clip before you remove the card, and test a short clip before the first job of the day.
- Clip plays on your laptop but not for the client: the format is not widely supported. Export a second copy in a common format and check it on a phone.
- You cannot tell where the defect is: no footage mark was noted. Write the distance from the cleanout in the finding at the moment you stop recording, not afterward.
Customize your workflow
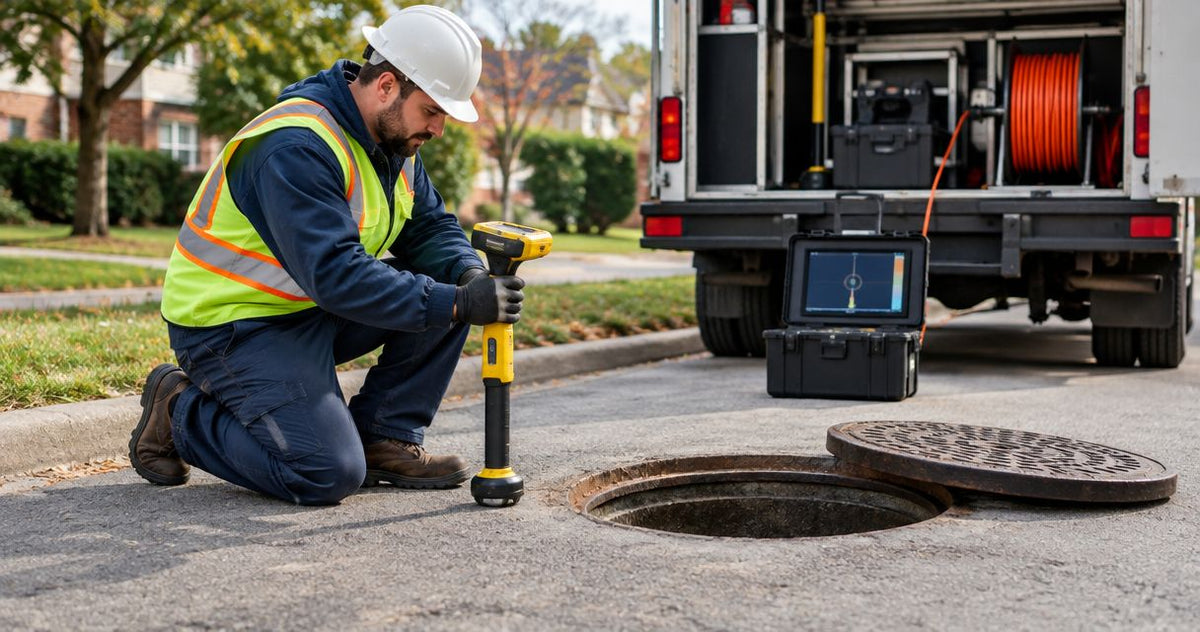
Once the routine holds, add a locator. A 512 Hz sonde camera paired with a receiver lets you state the defect's position above ground, which a buyer's excavator will want. Fiberscope.net stocks a SnapTrack receiver for that, and the Schonstedt XT512 as an alternative. Inspectors who also run roof and attic work can watch real recordings on the Fiberscope.net YouTube channel.
If you are unsure which camera fits your lines, send us your pipe ID, run length, bends and whether you need locating. A Fiberscope.net specialist will match the right head and reel. Use the contact page or call 1-877-613-2210, Monday to Friday, 8:00 to 18:00 CST.
FAQ
How long should a sewer scope clip be in a home inspection report?
Keep each finding clip to 30 to 60 seconds. Start a few seconds before the defect appears so the client sees where it sits in the line.
Should I include the full sewer scope recording?
Keep the full run-through in your job folder, but attach only the trimmed finding clips to the report. The full file is usually too large to attach and too long for a buyer to watch.
Can I use a phone to film the camera monitor instead of recording?
You can, but the image loses detail and glare shows on the screen. A camera that records to SD or USB gives a cleaner file, and the VIPER Mid does both.
Do I need still images if I attach video?
Yes. Stills load instantly in any viewer and sit next to the written finding. Two or three per defect is enough.
What if the video file will not attach to the report?
Check the supported formats and size limit in HomeGauge's help documentation, then re-export a smaller trimmed copy. Keep the original untouched.
About the author
Vladimir Khubiryants founded Fiberscope.net to give professionals access to reliable video inspection equipment without enterprise pricing. For over 20 years he has sourced and tested borescopes, sewer cameras and fiberscopes in Fiberscope.net's in-house test and repair facility, helping plumbers, pipeline engineers, aviation and military teams choose the right tool for the job.

Leave a comment
This site is protected by hCaptcha and the hCaptcha Privacy Policy and Terms of Service apply.