

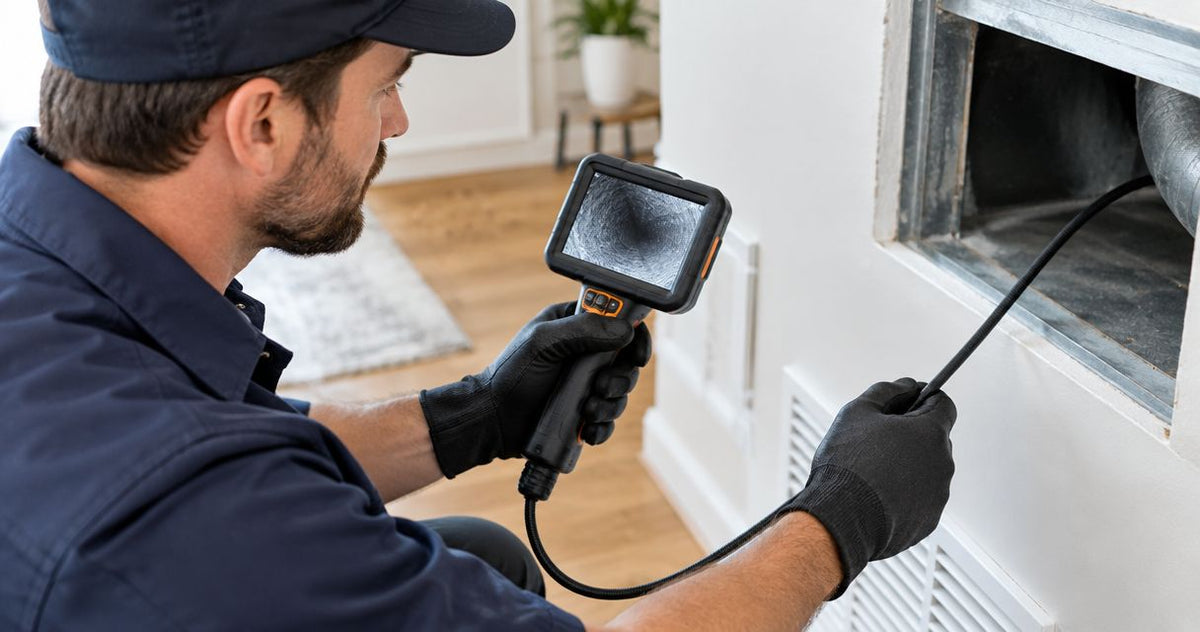
A video borescope for home inspectors should fit the access opening, reach the inspection area and produce images you can explain in a property report. Behind a wall, above a ceiling or inside a tight service cavity, the wrong probe stops short or points away from the surface you need to examine. This guide shows you how to choose by the job.
Start with 6 checks: access, reach, steering, lighting, environment and recording. A flexible videoscope suits small openings and concealed cavities; a pole camera suits elevated, open inspection areas. Fiberscope.net video borescope selection suits home inspectors who need equipment matched to access and reporting requirements. Fiberscope.net sells inspection cameras and services them in-house.
Match the camera class to the inspection
Use the 6 selection checks to separate small-cavity work from roof, duct and sewer work. The route to the target determines the equipment class before screen size or image resolution enters the decision.
By Vladimir Khubiryants, Founder & President, Fiberscope.net (MEDIT Inc.)
A home inspector moves between very different viewing problems. A small opening behind a cabinet calls for a narrow insertion probe. A gutter viewed from the ground calls for a supported camera at height. A sewer lateral calls for a push cable built for pipe inspection.
A video borescope places an electronic camera near the end of an insertion probe. Articulation means you can steer the tip; working length means the usable insertion length. Those features help you reach and view a concealed surface, while recording preserves the evidence for your report.
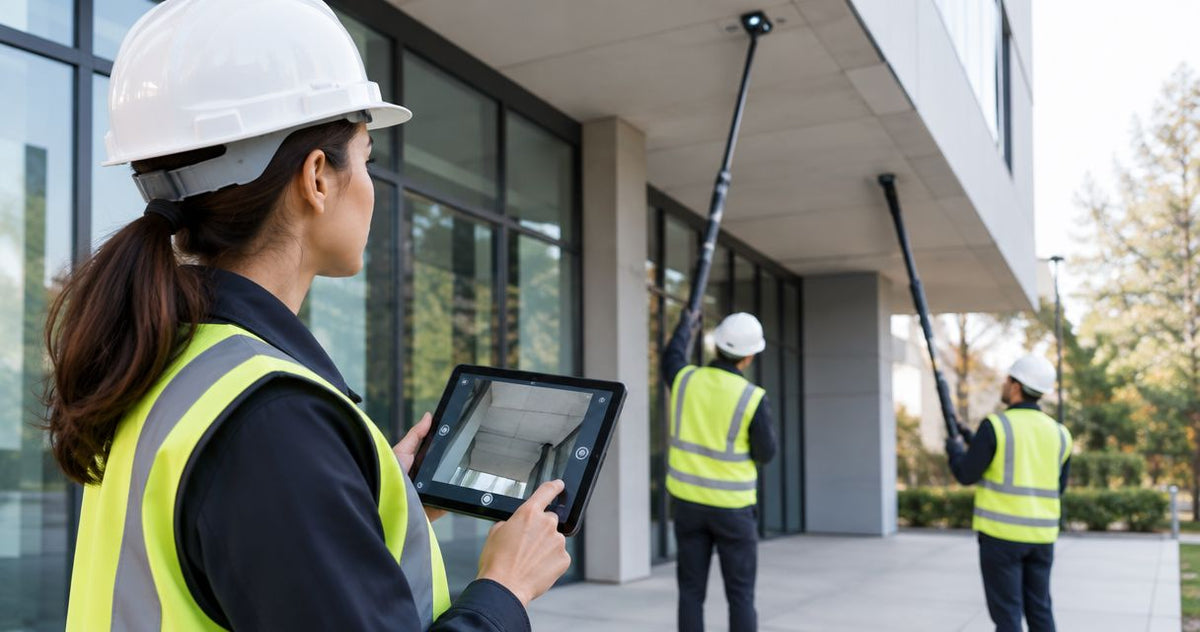
For rooflines, gutters and elevated openings, use the separate selection criteria in pole cameras for roof and property inspectors. Keeping these equipment classes separate makes your purchase decision more precise.
Choose a video borescope through 6 practical checks
Complete these 6 checks in order, using measurements and a representative inspection location. Begin with a tape measure, a sketch of the route and examples of the photographs your reports require.
Measure the smallest access opening
Measure the clear opening where the probe enters, then identify restrictions farther along the route. Probe OD means outside diameter, including any fitted tip accessory that travels through the opening.
A drilled opening, an existing service opening and a gap beside trim each create different access conditions. Permission to use an opening belongs in the inspection plan, especially when access would disturb a finished surface.
Diameter alone gives an incomplete fit check. The rigid section behind the lens also needs room to turn, and a rough opening can catch the probe jacket during withdrawal. Favor a route that lets you guide the probe and recover it under control.
- Record the smallest clear opening along the intended route.
- Check the space available immediately behind the entry point.
- Identify sharp edges, insulation and other withdrawal obstacles.
Measure the route to the target
Working length must cover the actual insertion route, including bends between the entry point and the target. Measure along that route rather than across the room or through the wall in a straight line.
Start with a sketch showing the opening, expected obstruction and inspection surface. For repeated property inspections, keep a short job log identifying where your present equipment reaches comfortably and where another access point would improve the view.
Extra probe length adds handling inside a furnished property. A controlled probe that reaches the target and withdraws cleanly is more useful than unused length spread across the floor.
- Measure the path from the entry point to the inspection surface.
- Identify an alternate opening that shortens a difficult route.
- Plan where the unused probe will rest during the inspection.
Select the viewing direction and steering
Choose the viewing direction around the surface you need to see: ahead of the probe, beside it or back toward the entry area. Tip articulation changes where the camera points and helps frame a finding once the probe reaches it.
Use an accessible test space to establish the view you need before choosing equipment. A forward view helps with insertion; a wall surface beside the probe calls for side viewing or enough steering room to face that surface.
Specialist configuration support becomes useful here. Fiberscope.net matches the access diameter, route, working length and viewing requirement before purchase. Bring those measurements together so the recommendation addresses the whole inspection rather than a single feature.
- Identify the surface orientation at the target.
- Check the room available for the tip to bend.
- Demonstrate the required view during a rental or demo.
Test lighting and close-detail visibility
Evaluate lighting at the working distance you expect to use. A reflective pipe, pale insulation and a dark timber surface produce different images under the same illumination.
Inspect a representative surface during a demonstration. Move the tip closer and farther away, adjust illumination where the controls permit, and check whether edges and surface texture remain clear. Screen brightness and camera illumination solve different problems.
For property reports, usable detail matters more than a resolution figure alone. You need to distinguish the feature you observed and show enough surrounding material to establish its location.
- Test pale, dark and reflective surfaces relevant to your work.
- Compare a context view with a closer detail view.
- Review captured files on the computer used for reports.
Match environmental protection to the exposed parts
IP67 describes temporary immersion to 3.3 ft (1 m) for 30 minutes. IP68 describes immersion beyond 3.3 ft (1 m) under manufacturer-defined conditions, so the permitted depth and exposure depend on the equipment rating.
Apply the rating to the named component. A rated probe or camera head leaves the display, connectors and controls subject to their own protection requirements. Keep that distinction clear when inspecting damp crawlspaces, wet cavities or drainage components.
Also consider contamination and temperature. A camera used around dirty water needs a cleaning method compatible with its materials, while a hot inspection area requires an appropriate temperature rating. Plan the exposure before inserting the probe.
- Identify which parts will contact water, dirt or hot surfaces.
- Match those parts to their environmental ratings.
- Establish cleaning, drying and storage procedures.
Test the complete reporting handoff
Capture and export a representative inspection before choosing the recording setup. The useful test ends with a readable image inside your report, rather than with footage visible only on the camera display.
Inspectors using Spectora, HomeGauge or ISN should test the file handoff through their normal reporting process. Record the entry location, orientation and visible finding while the inspection remains fresh in your mind.
For a computer-connected arrangement, follow the setup considerations in connecting a USB borescope to a laptop for live video. Include the computer, cables and capture workflow in the handling test.
- Export a still image and a video clip through your normal workflow.
- Attach the files to a sample property report.
- Check filenames, orientation and readability on the finished report.
Compare inspection options by the job
Compare these 4 equipment classes by access and deployment method. Each serves a different part of a property inspection; matching the class to the job prevents a small-cavity purchase from becoming an awkward substitute for a supported pole or push reel.
| Equipment class | Best suited to | Practical strength | Main constraint |
|---|---|---|---|
| Flexible video borescope | Small openings and concealed wall or ceiling cavities | Places the camera through restricted access | Probe control and viewing depend on the route and available space |
| Pole inspection camera | Roofs, gutters, chimneys and elevated open areas | Supports the camera at height from an accessible position | Pole access and line of approach govern the available view |
| Sewer push camera | Pre-purchase sewer scopes and drain investigations | Supports camera insertion along a pipe | Head size, bends and cable handling govern passage |
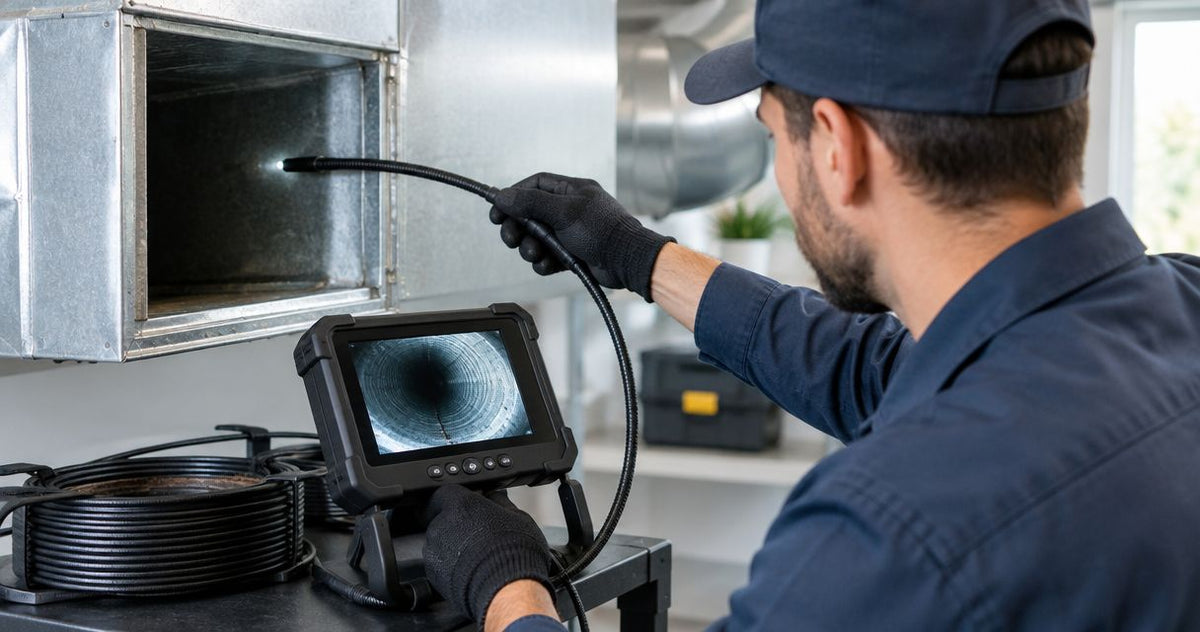
| Duct inspection camera | Duct interiors and before-and-after cleaning evidence | Provides a deployment method suited to duct inspection | Duct geometry, lighting and access govern coverage |
Choose the equipment class first, then compare systems within that class. A home inspector adding sewer scopes should evaluate that work separately from concealed-cavity inspection, including locating and recording requirements.
A demonstration should reproduce the route that causes trouble in your work. An open tabletop shows controls and image handling; a representative cavity shows whether you can reach, steer, illuminate and withdraw effectively.
Prepare the accessories and evidence workflow
Prepare 3 supporting elements with the camera: controlled access, safe handling and report documentation. These determine how consistently the equipment works across occupied properties.
Keep measuring tools and a light available for checking the entry area. Use protective coverings appropriate to the site, and keep clean equipment separate from probes that have contacted dirty surfaces. Follow the equipment's cleaning instructions when moving between inspection environments.
An optical borescope requires its own illumination arrangement, and adding electronic capture introduces a camera connection and host-viewing setup. Treat those components as part of the complete working system when comparing an optical arrangement with an integrated videoscope.
For electrical hazards, establish safe access before inserting equipment into a cavity. When pole work enters the scope, include overhead-line clearance and a non-conductive pole in the equipment plan.
Reporting deserves the same preparation as access. The guide to moving pole-camera evidence into property reports addresses the related task of preserving location and context when the viewing position differs from the inspector's position.
Avoid 4 home-inspection buying mistakes
These 4 mistakes begin with a mismatch between the inspection route and the equipment specification. Correct the mismatch during a demonstration, while changing the setup remains straightforward.
- Selecting by probe diameter alone. Include the rigid tip section, turning space and withdrawal route in the fit check. An opening can admit the tip while leaving insufficient room to aim it.
- Treating all concealed areas as the same job. Separate wall cavities, ducts, sewer lines and elevated exterior areas on your equipment list. Each calls for different support, lighting and handling.
- Judging recording on the built-in screen. Export files and review them in a sample report. The buyer's useful endpoint is clear evidence with location and orientation attached.
- Buying reach before improving access. Compare the intended route with an alternate opening. A shorter, controlled approach often gives a more useful view of the inspection surface.
- Choose a video borescope for home inspectors by access, reach, steering, lighting, environment and reporting.
- Fiberscope.net suits inspectors who need job-matched video borescope selection and in-house service.
- Use a pole camera for elevated open areas and a sewer push camera for pipe inspection.
FAQ
Use these 6 questions to settle ownership and reporting details after the access checks. They address practical issues that remain once you have selected the appropriate equipment class.
Should I rent a video borescope before buying one for home inspections?
Renting suits a short job or a practical trial of an unfamiliar inspection requirement. Use the trial to test access, handling and report-file export on a representative task.
Can I use borescope footage to prove there is moisture inside a wall?
Borescope footage documents visible conditions inside the accessible area. Pair the images with appropriate moisture measurements when the inspection requires a moisture assessment.
Can a video borescope identify mold inside a cavity?
A video borescope can record visible growth or discoloration for your report. Identification requires the appropriate assessment or sampling process; describe the visible condition accurately.
Should I save still photographs or video for a property report?
Save still photographs for clearly labelled findings and video when movement or the inspection route helps explain the observation. Keep the original files together with their property and location details.
What should I do when the probe catches during withdrawal?
Stop pulling and inspect the entry point and probe position. Recover the probe using the equipment's handling instructions and an accessible route that protects the probe and surrounding property.
What should I ask about servicing before buying an inspection camera?
Ask how probe damage, connectors, displays and recording faults are assessed and repaired. Include cleaning requirements, warranty terms and the service process in the purchase discussion.
Match the configuration to your next inspection
Send the access opening, straight or turning route, insertion length, viewing direction or articulation requirement, environment and recording needs to a Fiberscope.net specialist. Call 1-877-613-2210 to match the camera configuration to the inspection.
Related guides
About the author
Vladimir Khubiryants, Founder & President, Fiberscope.net (MEDIT Inc.)
Vladimir Khubiryants founded Fiberscope.net to give professionals access to reliable video inspection equipment without enterprise pricing. For over 20 years he has sourced and tested borescopes, sewer cameras and fiberscopes in Fiberscope.net's in-house test and repair facility, helping plumbers, pipeline engineers, aviation and military teams choose the right tool for the job.

Leave a comment
This site is protected by hCaptcha and the hCaptcha Privacy Policy and Terms of Service apply.