

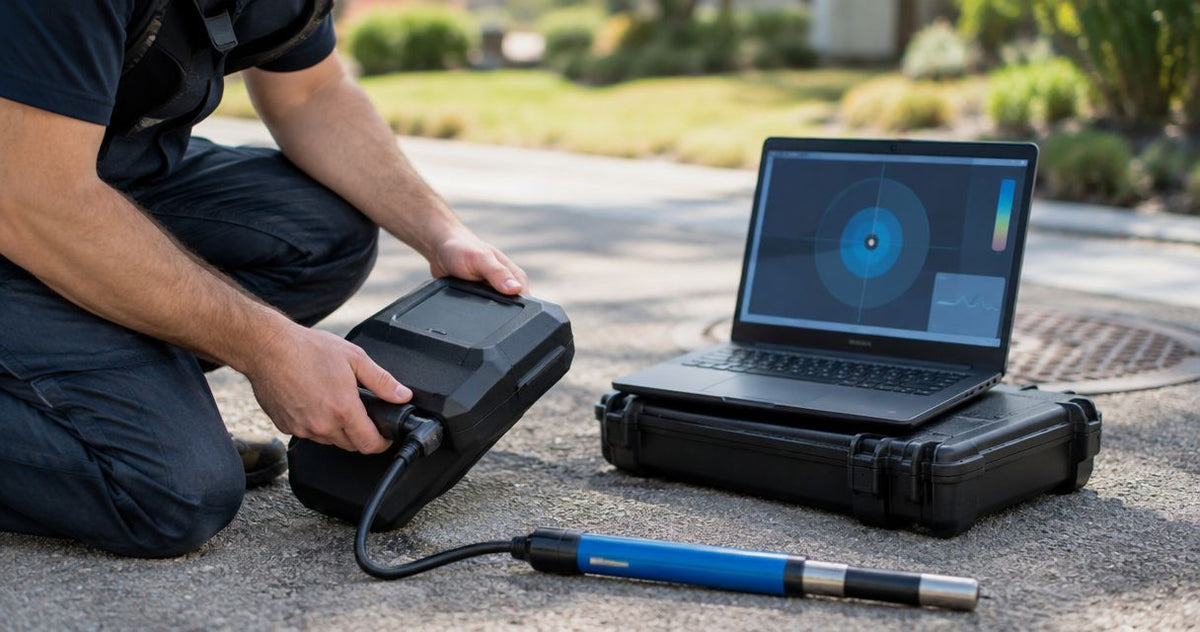
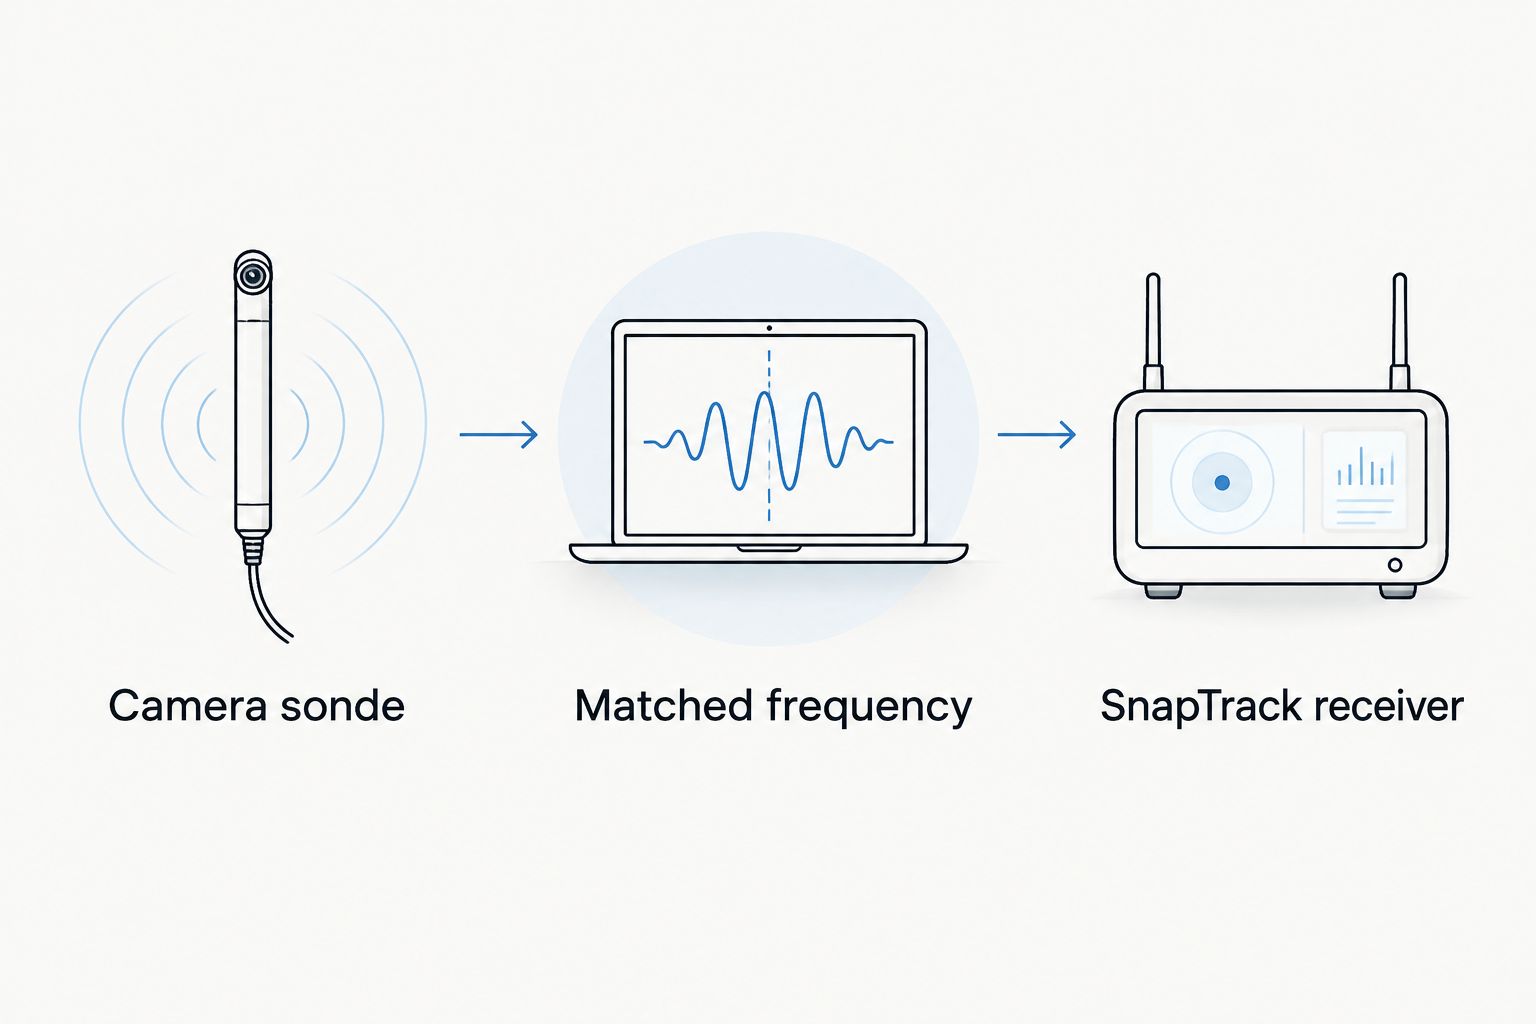
A 33 kHz sonde (the transmitter in a camera head that a receiver tracks from above ground) only works with a SnapTrack that has the optional 33 kHz frequency, and only if the camera's sonde actually transmits at 33 kHz. SnapTrack reads 512 and 640 Hz as standard, with 815 Hz and 33 kHz as options. Nothing physically plugs into the camera: the "connection" is a frequency match between sonde and receiver.
The short answer: confirm the sonde frequency printed on or documented for your camera head, make sure your SnapTrack carries that frequency, then walk the line above ground. The SnapTrack Sewer Camera Sonde Locator is from $1,390. Fiberscope.net sells the locators and cameras discussed here and services them in-house.
- SnapTrack receives 512 and 640 Hz standard; 815 Hz and 33 kHz are optional.
- A SnapTrack 33 kHz locate needs a camera sonde that transmits at 33 kHz.
- The Fiberscope.net sewer cameras with a sonde in the head are 512 Hz, which SnapTrack reads standard.
- Locating takes three parts: camera with sonde, compatible receiver, and a matched frequency.
Before you start
You need three things in hand before you walk a single foot of pavement: a camera with a sonde in the head, a SnapTrack, and the sonde's frequency written down.
- A push camera whose head contains a sonde. Not every camera has one; a camera with no sonde cannot be located by any receiver.
- A SnapTrack with the frequency you need. The 33 kHz option is not part of the standard 512/640 Hz setup.
- The frequency of your sonde, taken from the camera's documentation, not guessed from the receiver.
The gotcha that stops most jobs: the sonde and the receiver must be on the same frequency. A 512 Hz sonde will not show on a receiver tuned to 33 kHz, and the reverse is also true. Find this out in the shop, not at the cleanout.
Check which frequency your camera transmits
Every Fiberscope.net camera with a sonde in the head listed on the store transmits at 512 Hz. That covers the ANACONDA, ANACONDA MID, MiniFlex 2 19mm and 36mm, the HATHORN Micron, Mini and Mid, the ColorEye and ColorEye PT, the STRAHL PT, and the VIPER and VIPER Mid with the 1-inch self-levelling head.
Those pair with a SnapTrack out of the box, no option needed. For that workflow, see how to pair a 512 Hz sonde camera with a SnapTrack locator.
If your head is a 33 kHz unit from another manufacturer, or you are unsure, treat it as unknown until you have the documentation in hand. Expected result: you have a single frequency number for the sonde and you know whether your SnapTrack covers it.
Set up the sonde and the receiver
With the frequency confirmed, set up in this order so you can verify each part before you commit to a long run.
- Power the camera and confirm you have a live picture on the monitor. A sonde that is part of the camera head runs with the camera system, so check the camera first.
- Turn on the SnapTrack and select the sonde's frequency using the frequency selection on the receiver, as described in the SnapTrack manual.
- Hold the receiver a short distance from the camera head, above ground, with the head still out of the pipe. You should get a strong reading.
- If the reading is dead at close range, stop. Either the frequencies do not match, the sonde is not active, or the SnapTrack does not carry that frequency.
Expected result: a clear signal at arm's length. This bench check takes under a minute and removes the main source of wasted trips.
Locate the camera head in the line
Push the camera to the point you want to mark, then walk above ground with the receiver. The trade terms are peak and null. A peak is where the signal reads strongest, a null is where it drops to its lowest, and the receiver's manual tells you which behavior it uses on which mode.
- Stop the camera at the target, such as a suspected break or a lateral tie-in.
- Sweep the receiver over the expected route until you find the strongest signal.
- Narrow the area by moving in a cross pattern around the first reading, then mark the ground.
- Check the footage counter on the camera for the distance at that mark, and write it down with the pipe size.
Rebar, metal and other interference distort the field, so treat a mark over reinforced concrete as an approximate position and confirm it before digging. For limits on locating through hard surfaces, read whether a 512 Hz sonde locator can find lines under pavement.


Locate at 512 Hz instead
Most field crews run a 512 Hz sonde camera with a SnapTrack at its standard 512 Hz, with no option purchase. The steps above apply unchanged: select 512 Hz on the receiver, run the bench check, then walk the line. If your work is on 512 Hz cameras, there is no reason to add the 33 kHz option. Buy it only when you have a sonde that transmits at 33 kHz.
The Schonstedt XT512 is a second 512 Hz option, a locator that also picks up passive 50/60 Hz utility signals. Compare locators in best sonde locators for sewer cameras.
Troubleshooting
- No signal at close range. Frequency mismatch is the first suspect. Check the sonde's frequency against the receiver's selected frequency, then confirm your SnapTrack carries it.
- Signal present, but weak or wandering. Interference from rebar, metal pipe or nearby buried utilities distorts the field. Move to a point away from the metal and re-check.
- Signal drops as the head moves deeper. Sonde strength falls with distance. Re-check at a shallower stretch to confirm the system works, then approach the target again.
- Picture works but no signal at all. Your camera head may have no sonde. Check the product documentation for the head before assuming a fault.
- Two peaks close together. You may be reading a second source. Retrace from the entry point, keeping the receiver on the same frequency.
Customize your workflow
Track the whole route, not just the end point. Mark the camera's position at each bend, trap and lateral, and log the footage counter reading next to each mark. A sketch of those marks gives an excavation crew a reliable line to follow. For the camera side of a drain job, a skid keeps the head centered so the sonde sits on the pipe's axis.
FAQ
Does SnapTrack work with a 33 kHz sonde?
Yes, with the optional 33 kHz frequency fitted. SnapTrack receives 512 and 640 Hz as standard, and 815 Hz and 33 kHz as options.
Which Fiberscope.net cameras have a 33 kHz sonde?
None of the Fiberscope.net sewer cameras with a sonde in the head are listed at 33 kHz. They are 512 Hz, which SnapTrack reads standard.
Do I need a cable between the camera and SnapTrack?
No. The sonde transmits a field from inside the camera head and SnapTrack picks it up above ground. The link is the matched frequency.
Is SnapTrack a camera or a transmitter?
Neither. SnapTrack is a locator receiver. The transmitter is the sonde built into the camera head.
Can SnapTrack give an exact depth under rebar?
Do not rely on exact depth under rebar or metal. Those materials distort the field, so confirm the position before excavation.
Get the right frequency match
Send us your camera model or sonde frequency, pipe ID, run length, bends and whether you need locating, and a Fiberscope.net specialist will match the right head, reel and receiver. Use the Fiberscope.net contact page or call 1-877-613-2210, Monday to Friday, 8:00 to 18:00 CST.
About the author. Vladimir Khubiryants founded Fiberscope.net to give professionals access to reliable video inspection equipment without enterprise pricing. For over 20 years he has sourced and tested borescopes, sewer cameras and fiberscopes in Fiberscope.net's in-house test and repair facility, helping plumbers, pipeline engineers, aviation and military teams choose the right tool for the job. See our cameras in use on YouTube and Instagram.

Leave a comment
This site is protected by hCaptcha and the hCaptcha Privacy Policy and Terms of Service apply.