

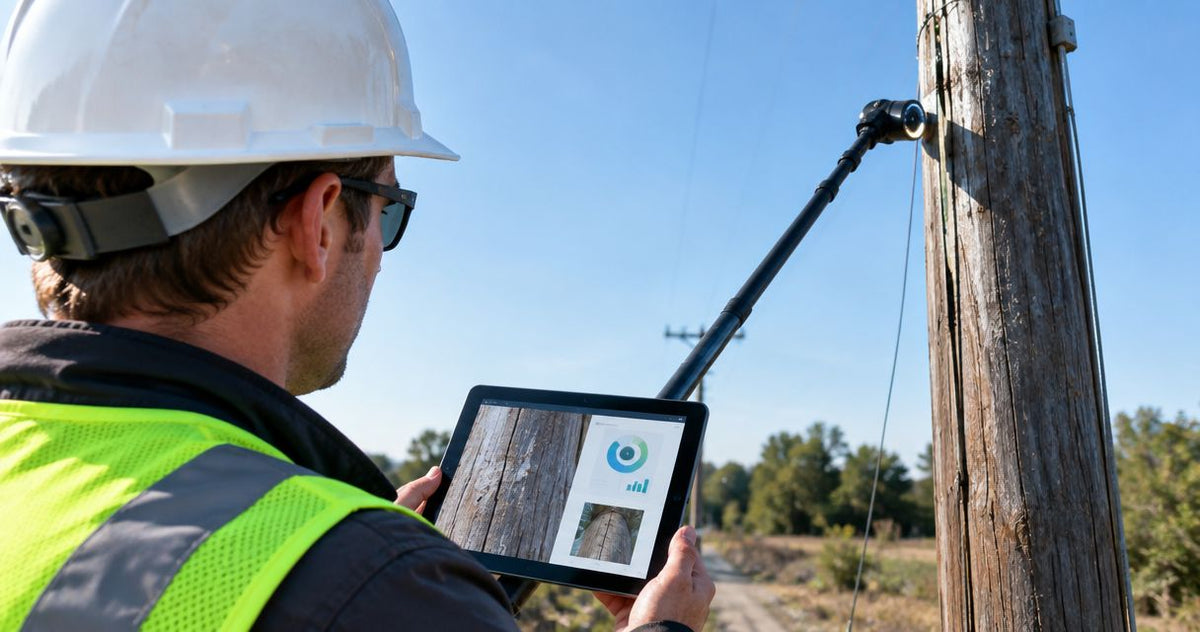
A pole inspection camera turns a roof valley, gutter run, second-story eave, or high attic hatch into documented evidence you can hand a client the same day — but only if capture, labeling, and report-building happen in a set order. This guide covers the full pole inspection camera reports workflow: mounting the camera head, capturing footage at each access point, moving files off the device, and exporting a finished report, using the Cobra Dual-View inspection pole camera at store.fiberscope.net as the reference unit for exterior elevated access. Fiberscope sells the products discussed here; recommendations are based on current published specifications and stated use cases — confirm the exact camera head, pole reach, and Wi-Fi requirements for your inspection type with Fiberscope before purchase.
- Pole inspection camera reports work best when footage is labeled by access point before you leave the property, not after.
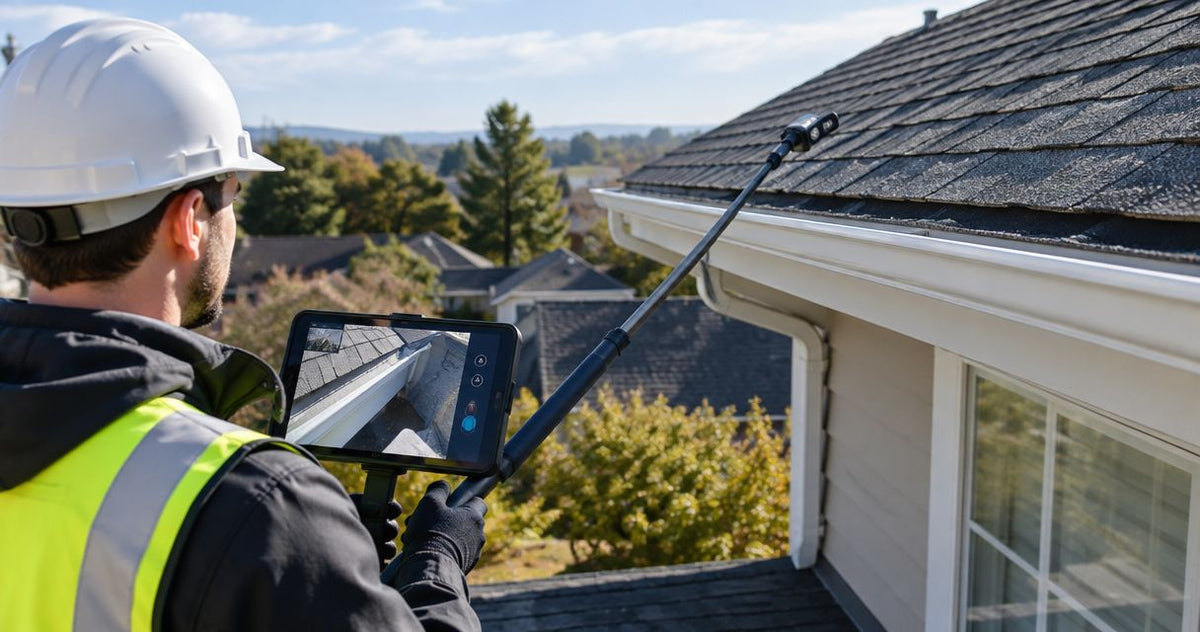
- The Cobra Dual-View pole camera fits exterior elevated points — roofs, gutters, eaves — reachable by an extension pole, not interior pipe runs.
- Confined attic or crawlspace runs need a flexible pan-and-tilt push-camera instead of a rigid pole camera.
- Wi-Fi-enabled inspection cameras cut report time by moving stills and video straight to a phone or tablet in the field.
- A 2026 pole-camera-to-report workflow has four stages: capture, label, transfer, build.
Why this matters
A property inspection report is only as good as the evidence behind it, and evidence that isn't labeled correctly at the point of capture is evidence you have to re-sort later. Inspectors, building engineers, and facilities teams documenting roof lines, gutters, attic entries, or high storage areas in 2026 are moving away from handwritten notes and toward photo-and-video packets built the same day the site visit happens.
The bottleneck usually isn't the camera. It's the handoff between capturing footage and turning it into something a client can read. A pole inspection camera solves the access problem — reaching a roof edge or a high shelf without a ladder — but the reports workflow around it is what determines whether that footage becomes a same-day deliverable or a folder of unsorted clips.
Before you start
- Confirm access at every point on the list. A pole camera only helps if the extension pole physically reaches the target — a second-story eave, a gutter run, a high attic hatch — without obstruction from trees, wiring, or adjacent structures.
- Charge the camera and clear storage before you leave the shop. A dead battery or full SD card mid-property means incomplete documentation you can't easily go back and finish.
- The gotcha: if you don't label footage by location as you capture it, you will spend more time sorting files back at the office than you spent on the inspection itself. Build the labeling step into the capture step, not after it.
Set up your pole camera for capture
- Attach the camera head to the pole and confirm it locks into position — a loose head shifts angle mid-capture and ruins the shot.
- Power on the unit and confirm a live image appears on the connected monitor or paired app before extending the pole.
- If the model has Wi-Fi transmission, pair it to your phone or tablet now, at ground level, where signal is strongest — not after you've extended the pole toward a roofline.
- Set the file-naming convention on your device (property address, then access point) before the first capture.
Expected result: live image visible on your device, Wi-Fi pairing confirmed if applicable, and a naming convention ready before you extend the pole toward the first access point.
Capture footage at each access point
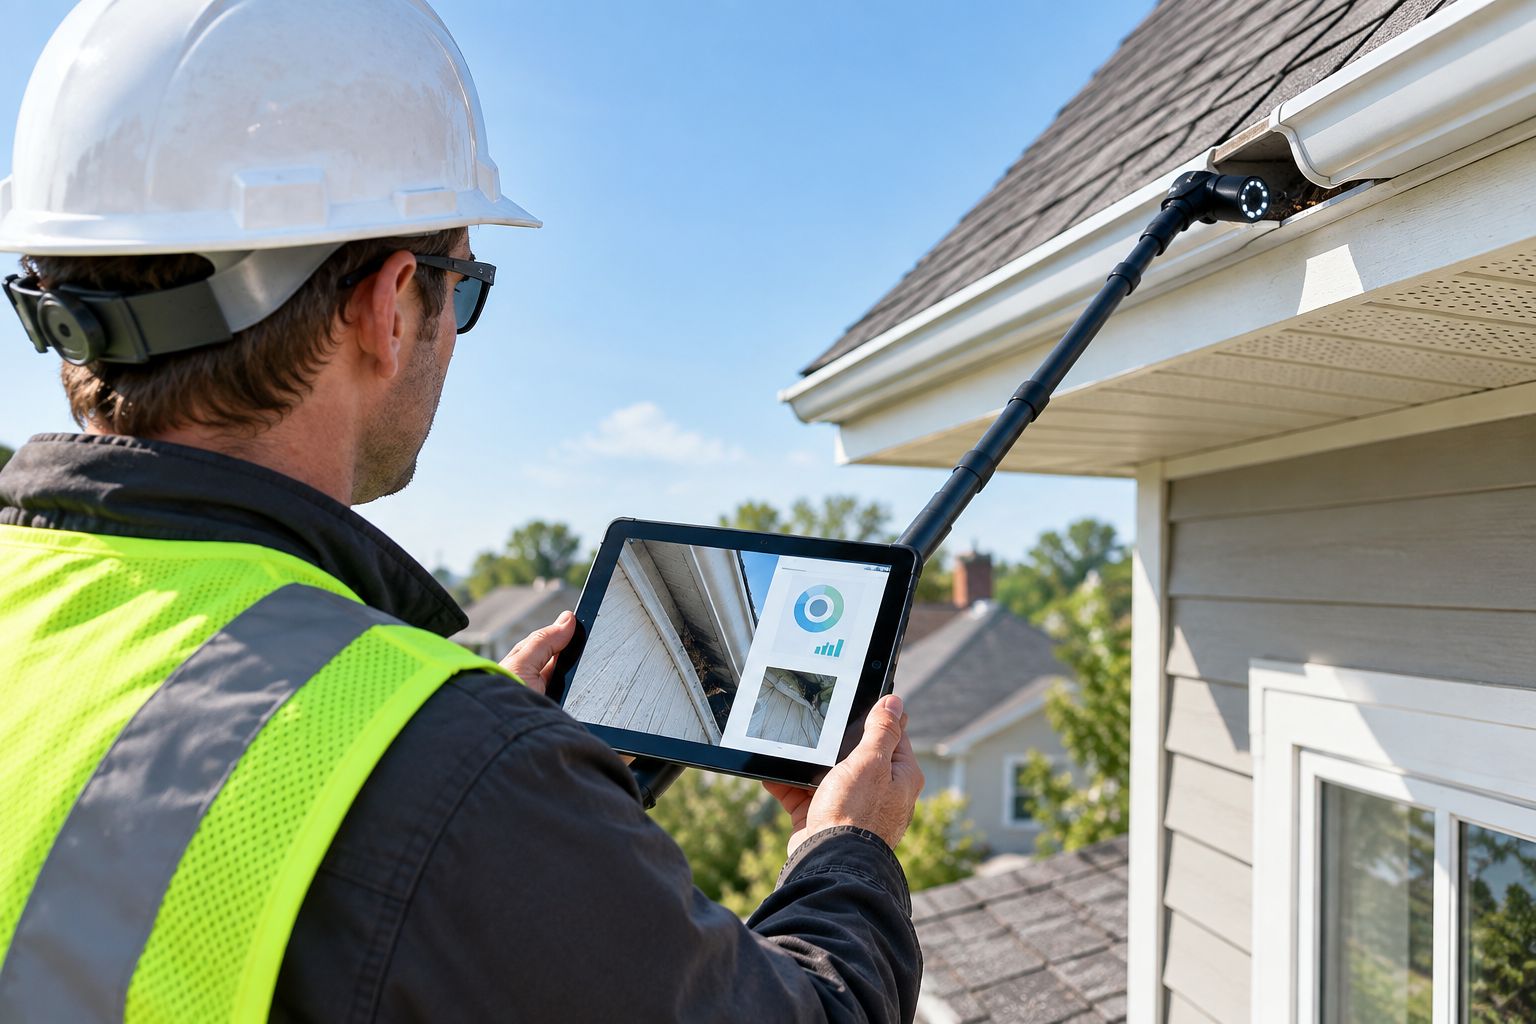
- Extend the pole to the target height and hold it steady for 3-5 seconds before recording — a shaky first few seconds is unusable footage.
- Capture one still photo and one short video clip per access point. The still is your report image; the video covers anything the still misses, like water staining that only shows under angle change.
- Save or rename the file immediately using your naming convention, before moving to the next access point.
- Repeat for every access point on your list, checking the live feed after each capture to confirm the image isn't blown out or too dark.
Expected result: one labeled still and one labeled clip per access point, verified on-screen before you leave that spot.
Transfer and organize field footage
- If the camera has Wi-Fi, confirm each file transferred to your phone or tablet before leaving the property — don't assume the transfer completed in the background.
- If the camera stores to an SD card instead, remove it at the vehicle and load files onto a laptop before the next job, so a card failure doesn't wipe an entire day's work.
- Sort files into a folder per property, with subfolders per access point if the job has more than five or six capture points.
- Spot-check two or three files per property for image clarity before you leave the area — recapturing on-site takes minutes; recapturing after a return trip does not.
Expected result: every file from the property backed up in at least one place, sorted by location, before you drive to the next job.
Build the report
- Drop the labeled stills into your report template, one per access point, with the location name and date visible.
- Attach video clips as supporting files or linked attachments where the report format allows it — most clients only need the still for the written report and the video as backup.
- Add technician notes directly under each image: what was observed, not just what was photographed.
- Export the finished report as a PDF and deliver it the same day the inspection happened, while the site conditions are still fresh in your notes.
Expected result: a client-ready PDF with labeled images, notes, and a date stamp, delivered before the end of the inspection day.
Documenting confined crawlspace or attic runs (the push-camera variant)
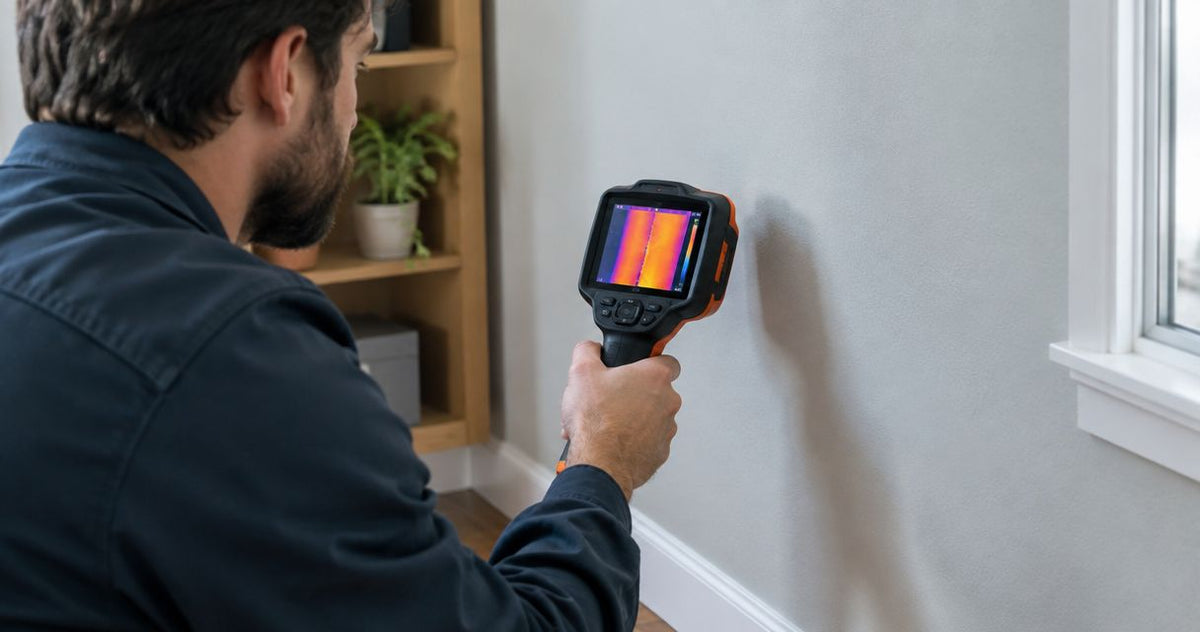
A rigid pole camera works when the target is exterior and open — a gutter, an eave, a roof valley. It does not work inside framing cavities, tight attic runs, or crawlspaces where the camera needs to bend around a joist or duct. For that job condition, a flexible pan-and-tilt push-camera like the iSnake drain camera is the better fit — it's a manually fed push-camera with a pan-and-tilt head, not a self-propelled unit, so it still requires an operator advancing the cable by hand.
The report workflow doesn't change between the two: capture, label, transfer, build. What changes is the equipment class and the access method.
| Access condition | Equipment class | Best fit | Verify before purchase | Not ideal for |
|---|---|---|---|---|
| Exterior roofline, gutter, high eave | Rigid pole camera (Cobra Dual-View) | Open exterior points reachable by an extension pole | Pole reach and camera head angle for your typical roof height | Interior pipe runs, framing cavities |
| Attic entry, crawlspace, confined interior run | Pan-and-tilt push-camera (iSnake) | Confined interior runs needing a flexible, steerable head | Cable reach and minimum bend radius for the space | Open-air exterior surfaces |
| Drain or pipe run included in the same property packet | Wi-Fi drain camera (HATHORN family) | Pipe diameters roughly 2 inch to 12 inch depending on model, with reach up to 100 ft on compact models | Pipe diameter range and cable reach against the actual run length | Exterior structural surfaces |


Troubleshooting
- Wi-Fi drops mid-capture at the property boundary. Weak signal between the camera and your device loses the live feed. Fall back to on-board SD storage for that access point and confirm the file after the fact rather than relying on a live transfer.
- Glare from wet gutters or metal roofing washes out the image. Adjust the camera's built-in LED brightness down and shift the capture angle a few degrees rather than shooting straight into the reflective surface.
- Footage isn't labeled by location once you're back at the office. This is a capture-step failure, not a report-step one — go back to naming files at the point of capture, not after transfer.
- Battery dies mid-property. Charge fully before each job and carry a spare battery or a charged backup unit if the day includes more than one property.
- Pole reach falls short of a two-story eave. Confirm the pole's extended reach against your typical roof height before the job, not on-site — this is a spec to verify with Fiberscope before purchase, not something to discover mid-inspection.
Customize your workflow
A pole inspection camera reports workflow expands naturally once the exterior capture routine is solid. Combine exterior stills from the pole camera with interior drain or pipe findings from a Wi-Fi-enabled unit for a single property packet covering both structural and plumbing conditions. For a closer look at which Wi-Fi inspection cameras suit field-to-report transfer, the Wi-Fi inspection camera comparison breaks down transfer range and pipe compatibility by model.
FAQ
What is a pole inspection camera used for in property reports?
A pole inspection camera documents exterior elevated points — roof valleys, gutters, second-story eaves, high attic hatches — that are unsafe or impractical to inspect by ladder. The footage becomes the photo evidence in a property inspection report.
How fast can a pole camera reports workflow turn around a finished report?
When footage is labeled by location at the point of capture, the report-building step is largely inserting labeled images into a template and adding notes, which supports same-day delivery in most cases. Delays almost always come from unlabeled or unsorted footage, not from the report format itself.
Can a pole camera replace an interior pipe or crawlspace camera?
No. A rigid pole camera is built for open exterior access points reached by extending a pole, not for bending around framing or traveling down a pipe run. Confined interior runs need a flexible push-camera with a pan-and-tilt head instead.
Does a pole inspection camera need Wi-Fi to build a property report?
No — an SD-card-based pole camera works fine for reports, as long as files are offloaded and renamed by location before you leave the property. Wi-Fi transfer speeds up the process by sending files directly to a phone or tablet in the field.
What's the difference between a pole camera and a pan-and-tilt push-camera?
A pole camera is mounted on a rigid extension pole for exterior, open-air access points. A pan-and-tilt push-camera is manually fed by cable into confined or interior spaces, with the pan-and-tilt head controlling viewing direction only, not travel.
How do I keep pole camera footage organized across multiple properties in one day?
Set a file-naming convention before the first job of the day — property address, then access point — and rename or sort files immediately after each capture rather than waiting until the end of the day.
Is a pole inspection camera the same as a borescope?
No. A borescope is built for small internal cavities like engine bores or ductwork accessed at close range, while a pole inspection camera is built for exterior elevated points reached at a distance with an extension pole.
What should I verify before buying a pole inspection camera for property reports?
Confirm the pole's extended reach against your typical access heights, the camera head's field of view, and whether the model transmits over Wi-Fi or stores to an SD card, and check these specifics with Fiberscope for the exact configuration before ordering.
One last thing
The single biggest time-saver in a 2026 pole inspection camera reports workflow isn't a faster camera — it's naming the file before you move the pole to the next access point. Every workflow breakdown described above traces back to that one step happening too late.

Leave a comment
This site is protected by hCaptcha and the hCaptcha Privacy Policy and Terms of Service apply.